If you are like me, and like to camp in places that don’t have full RV hookups, then you know how important it is to conserve your battery power. Let take a look at one the easiest ways to conserve your power consumption.
Installing LED interior lights in your camper or RV will use six times less energy than incandescent bulbs. The LED lights I Installed in my camper use 5.6 watts of power. Compare that to 33.6 watts used by the incandescent lights.
How To Install LED Lights
Installing LED lights is very easy to do. Even if you are not very handy, this is a project that you can do. I will show you the lights I installed, then I will discuss other options for installing LED lights.
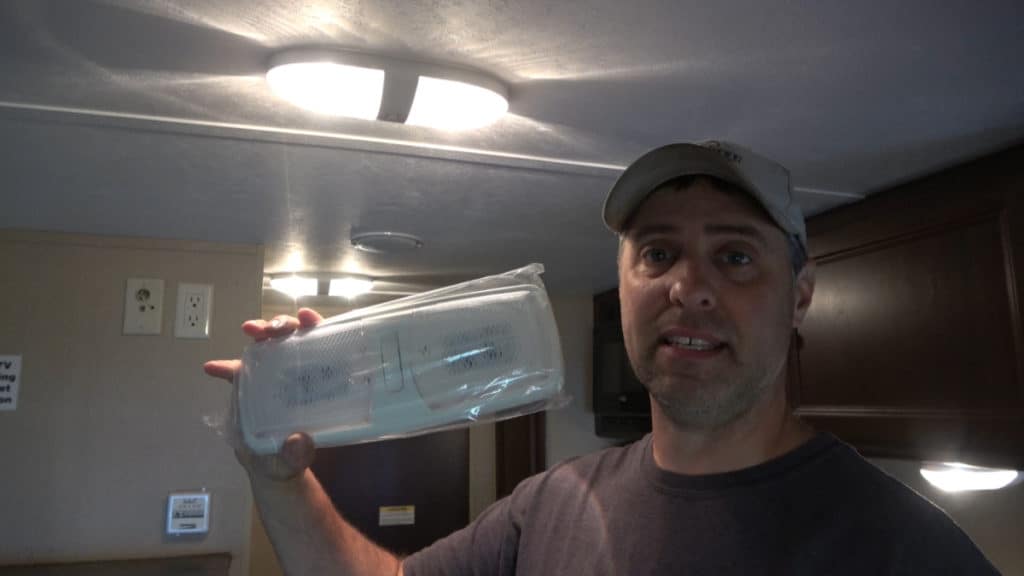
I chose a complete light replacement. The above photo shows the original light on the ceiling, and the new LED light in my hand. The cost of LED lights have come way down, and most new lights being sold now are LED.
Above are the lights I bought. There are many choices when buying lights, but they all seem very similar, and around the same price of $10 per light. I have six lights in my camper, so I bought this particular brand because it was the only one that was being sold as a six pack. Most come in sets of five.
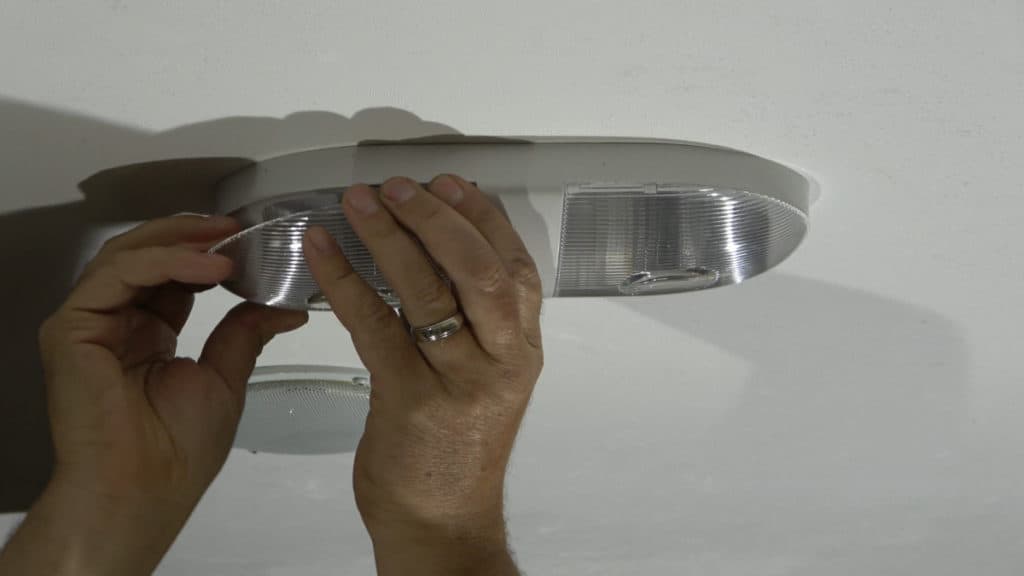
The first step is removing the lens cover on the existing light. This is easily done by squeezing the sides of the light and pulling down. Remember to disconnect your battery and/or electrical connection before cutting any wires.
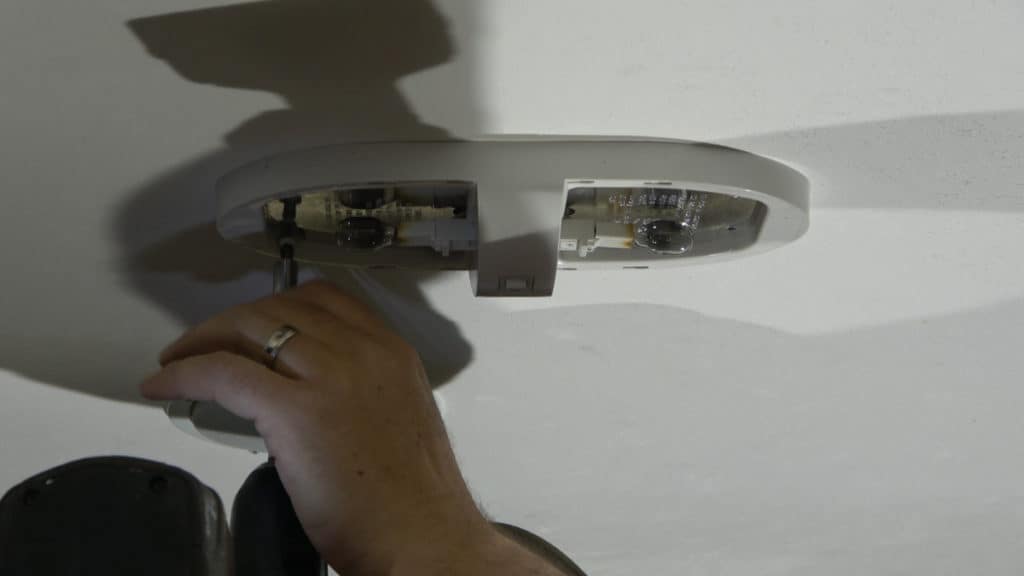
This will expose the screws holding it to the ceiling. Usually four to eight screws. Mine had only four. Take the screws out and pull down on the light.
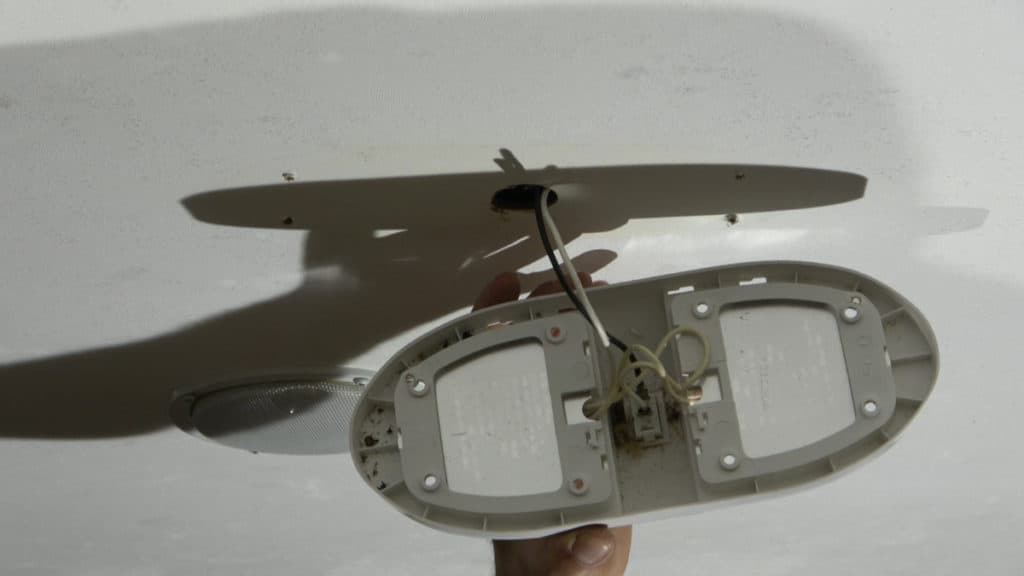
This will expose the wiring. All your camper lights will most likely be spliced together, so you might see some wire nuts about six to eight inches up the wire. Take a pair of wire cutters and snip the wires as close to the light as you can.
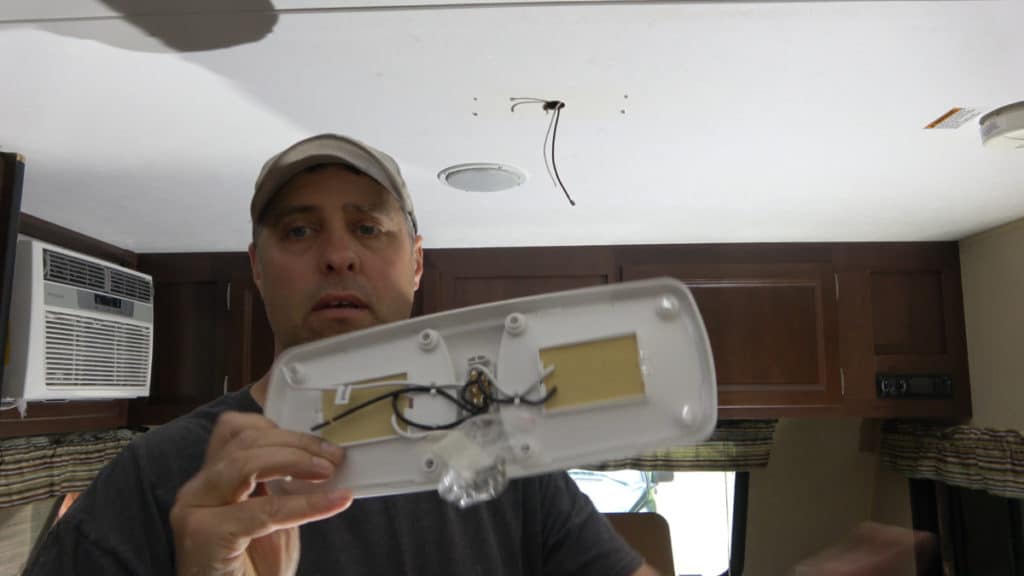
Now pull the new light out of its wrapper. There is not much to it. All you should find are two wires coming out of the back, and a pack of screws to attach it to the ceiling.
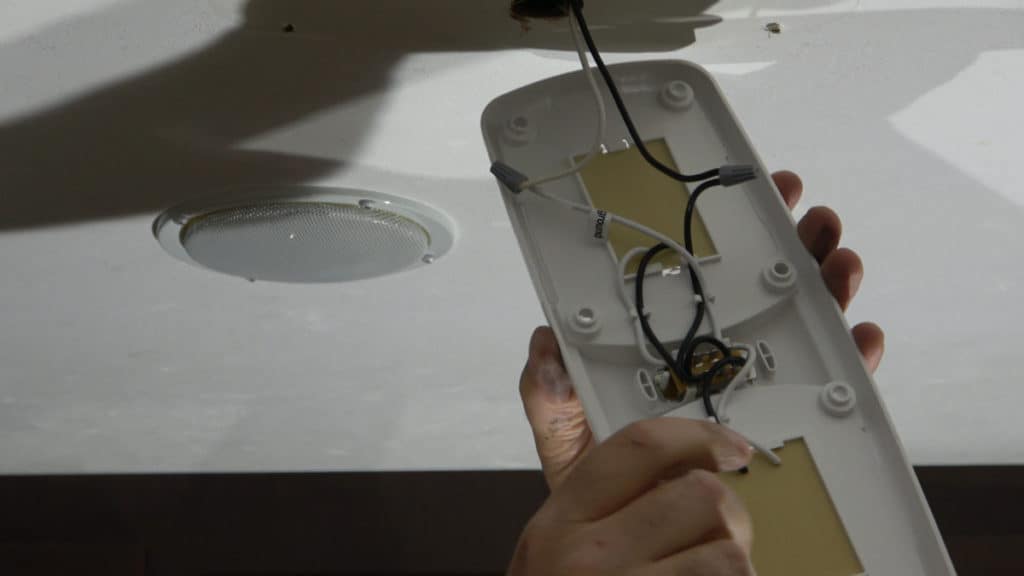
Just like before, you will want to remove the lens covers from the front of your new light. Then use a wire stripper to remove about a half inch of insulation from the wires on the back. I use the DOWELL wire stripping tool. It works great and is fairly cheap. Then attach the wires together with a wire nut.
An important thing to note: These lights are polarity sensitive. If they don’t turn on, just switch the wires and it should work.
In campers and RV’s, the black wire is positive (hot wire), and the white is the neutral or ground wire.
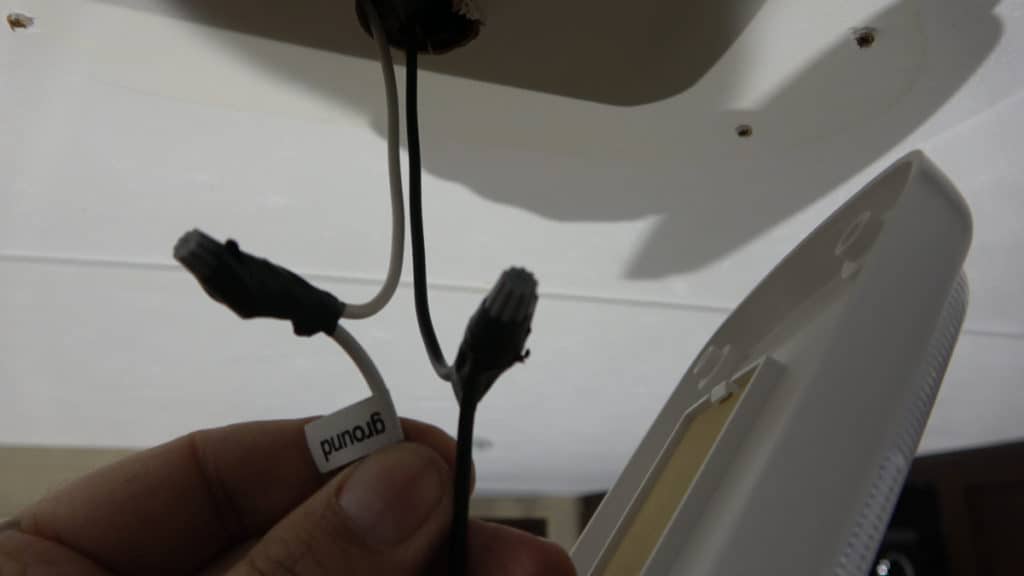
Its always a good idea to use electrical tape to secure the wire nuts from coming off and protecting it from any potential electrical shorts.
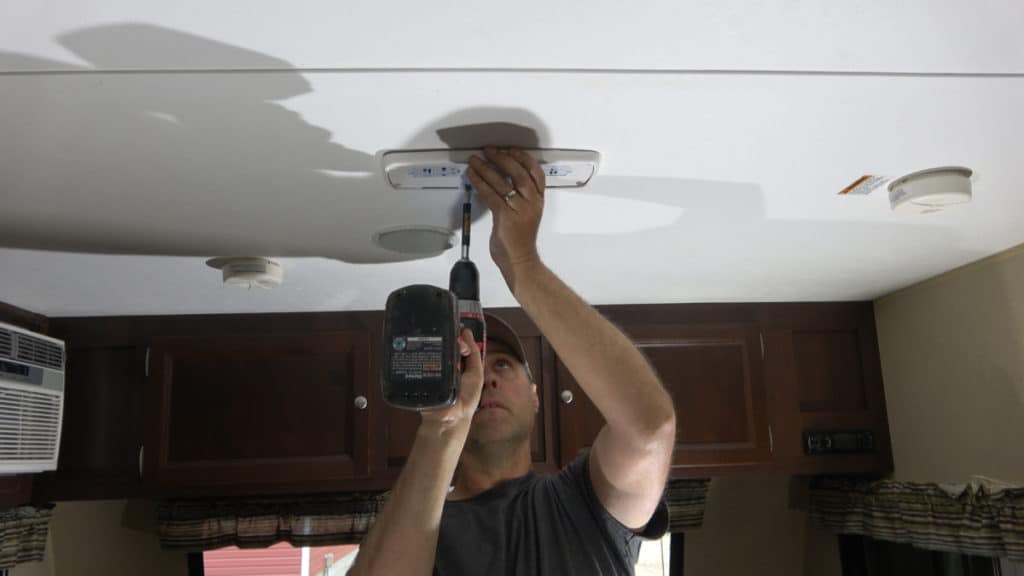
Now use the screws supplied with your light to attach it to the ceiling. My light came with eight screws. These lights are extremely lightweight, and in my opinion, don’t really need that many screws, but it will hold it tightly to the ceiling.
The old light will most likely have left a mark where it was, so buying a light that is slightly bigger will help cover up the marks from the old light.
Don’t worry about screwing into a stud. The ceiling material is strong enough to hold up these lightweight lights.
Finish by installing the lens covers on the new lights. Now go out and connect your power supply and test your work to make sure you did everything correctly.
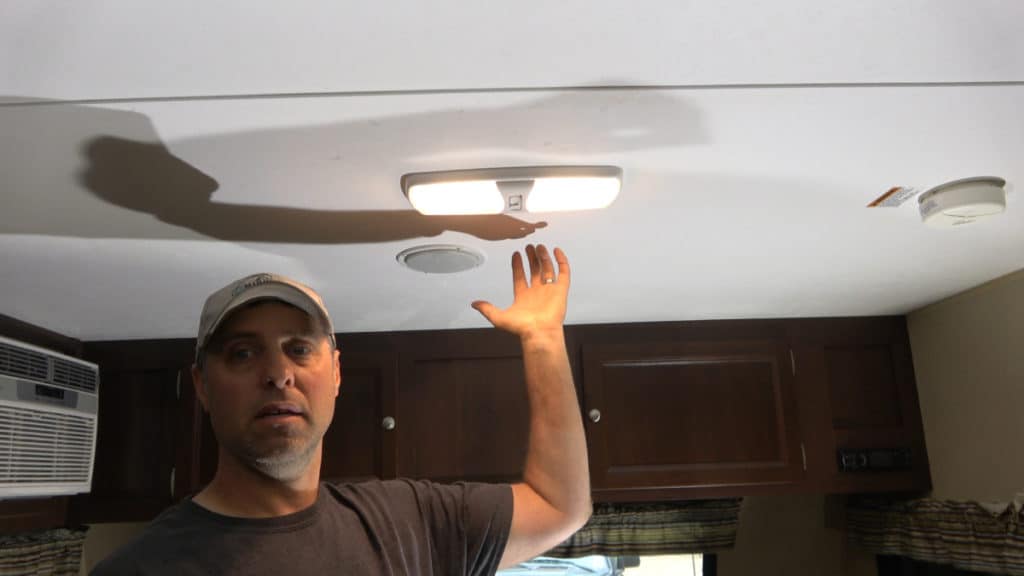
The nice thing about these new lights is that it has a three position switch. You can turn on both lights when a lot of light is needed.
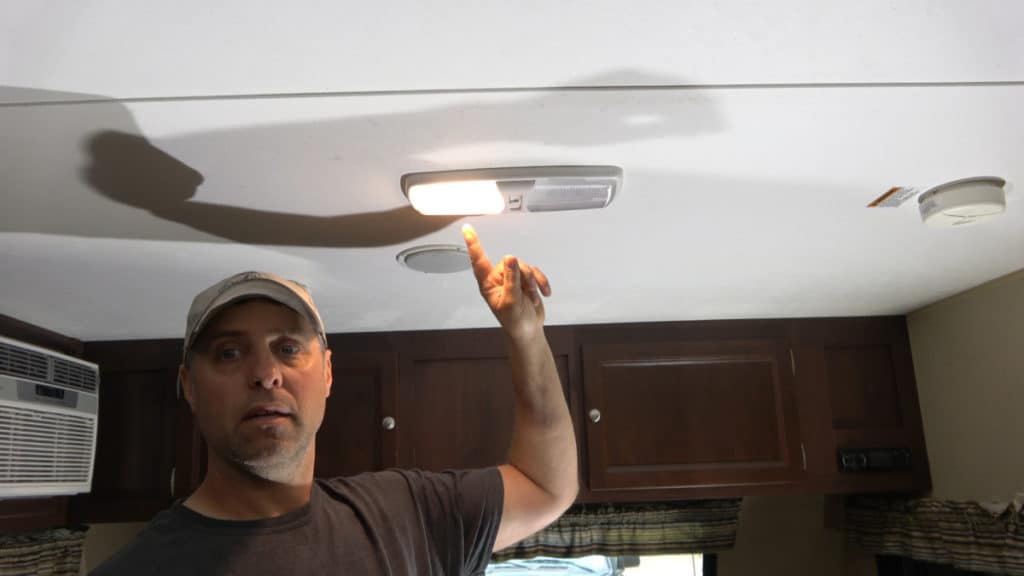
Or you can only turn on one light is less light is needed.
That’s all there is to it. Congratulations, you just made a huge difference in the amount of power you use while camping.
Other Options In LED Lighting
An even easier way to upgrade your lights to LED, is to just change out the bulb itself.
Here is an example of LED lights designed to fit in the same base that your incandescent light uses. It is as simple as twisting out the old light, and putting in the new one.
The prices and types of lights available vary so much, you will have to browse through the options and pick the best fit for you. The main thing to watch for is the type of light you have. These lights come with several different base connections.
Above is a bulb with a G4 Bi-Pin base. Below is a light with a T10 wedge base.
LED VS Incandescent Power Consumption
The biggest reason for changing to LED lighting is to use less power for lighting your camper or RV. I think we all know they consume less power, but exactly how efficient are they?
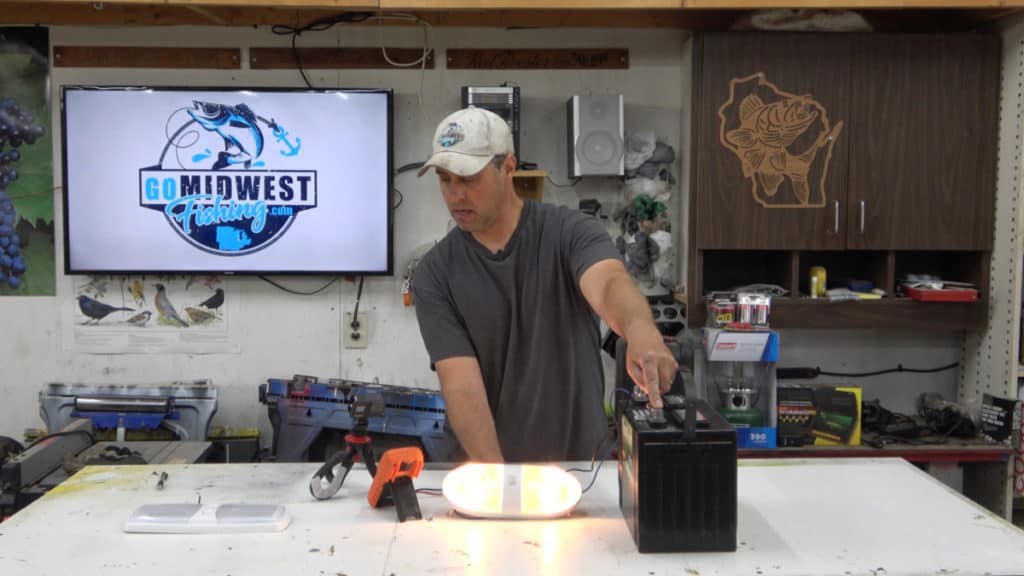
I did a bench test with both lights to see exactly how much power they used. First I tested the incandescent light. I connected it to a 12 volt battery, and checked how many amps it used.
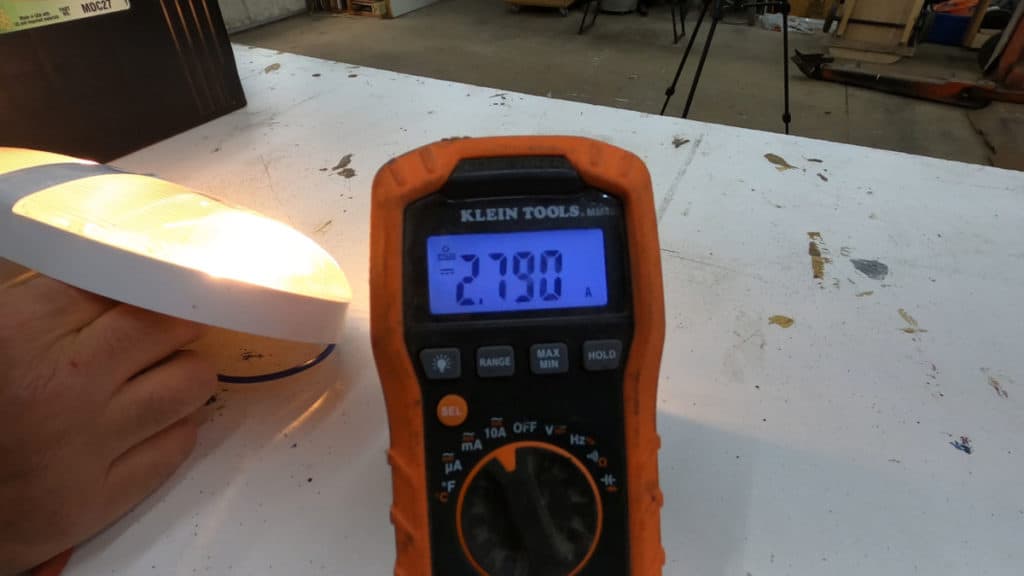
As you can see, the incandescent lights use about 2.8 amps. To get the power usage in watts, all you have to do is times the amps by the voltage, which we know is 12 volts. The incandescent lights use 33.6 watts.
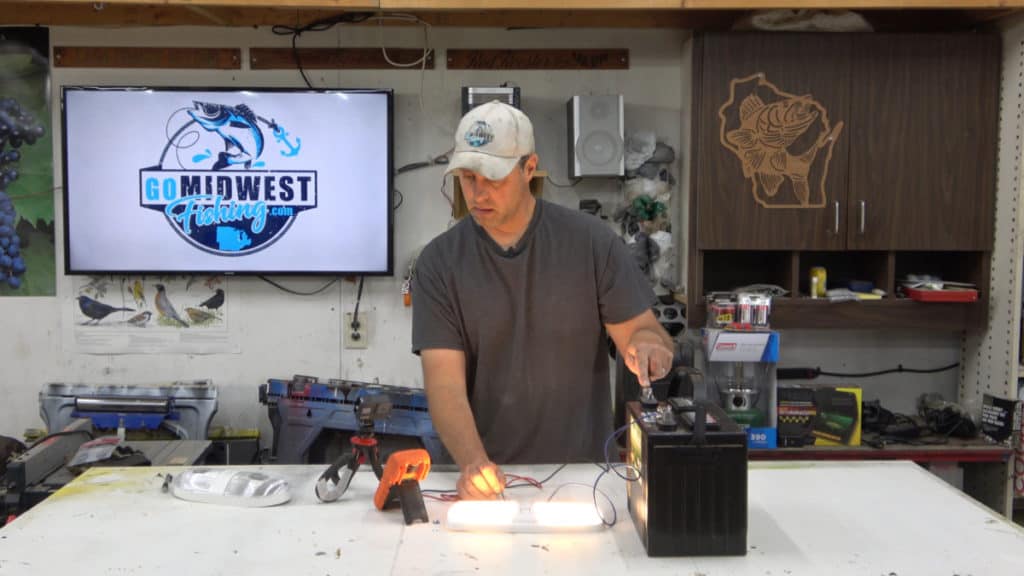
The LED lights use 0.46 amps! That’s six times less power than the incandescent lights.
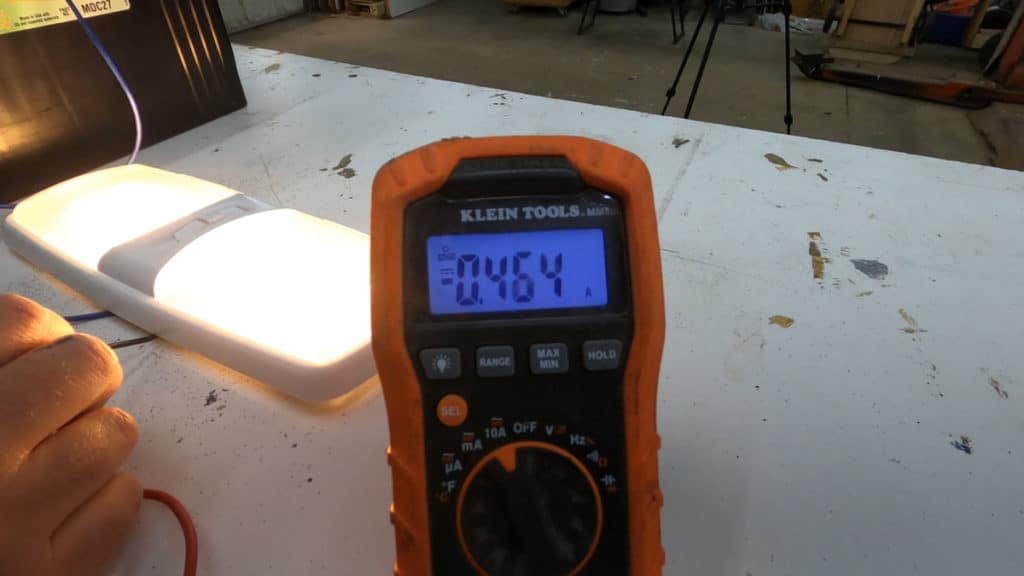
If we do the math, it comes out to 5.6 watts. If you want to save more power, you can only light one side of the light and use half the power at only 0.23 amps, or 2.8 watts.
I mentioned earlier that my camper has a total of six light fixtures installed on the ceiling. If all six light are turned on, I will be consuming 33.6 watts with my new LED lights. The old incandescent lights were using 201.6 watts. That means I can operate all six of my new lights for the same power consumption that just one incandescent light uses, hence, six times less power.
LED VS Incandescent Brightness
Not only do the new LED lights use less power, but they are also brighter. See the before and after photos below.
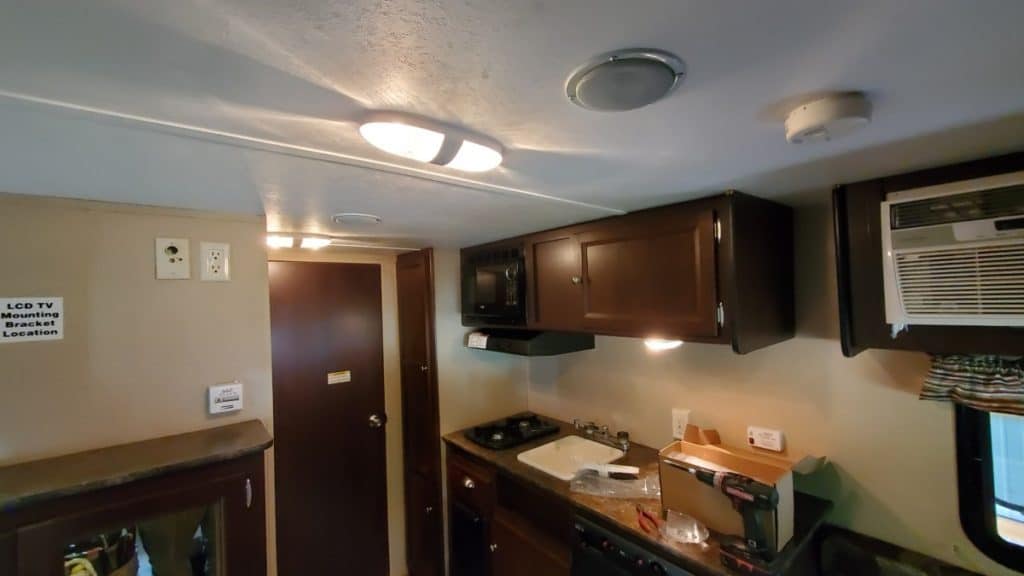
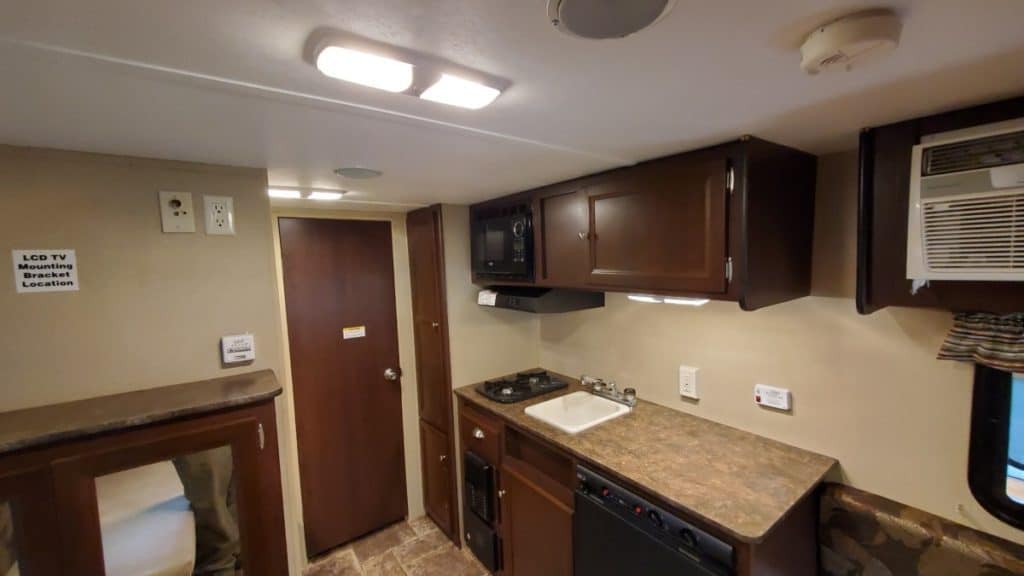
The new LED lights I installed claim to be 450 lumens. Incandescent camper lights are generally around 200 lumens. So you can see that more light for less power consumption is an easy decision.
Thanks for visiting Go Midwest Fishing. While you are here, check out the “Best Lake Reviews On The Web.”


