
Have you been looking at ice castles, but just can’t afford one? I have to admit, they are pretty nice. You will need to spend around $12,000 to get a basic one, or upwards of $40,000 for one that’s top of the line.
I just built my own ice house for less than $4,500, and the best part is, I can also use it year round for camping or hauling cargo. Keep reading below for a step by step process to build your own ice house for much cheaper than buying a pre-made one.
If you would rather watch a video of the entire build, you can see that at the end of this post or by clicking here.
**UPDATE – The price of supplies has gone up considerably since I built this one, so some prices listed might not be accurate.
Jump to a section by clicking the links below
- Trailer Selection
- Trailer Cost
- Trailer Features
- Floor Paint
- Putting Holes In The Floor
- Relocating The Spare Tire
- Installing The Furnace
- Building The Front Wall
- Ceiling Lights
- Insulating the Ceiling
- Installing Ceiling Panels
- Installing The Window
- Electrical
- Safety Equipment
- Finishing Touches
- Completed Project
- Cost And Supply List
- Video Of Build
Trailer Selection
First you need to determine how much space you need. We tested out several sizes and determined the minimum comfortable size for three people was (6×12) six feet wide by twelve feet long. If you will be fishing alone, you could always go smaller, but I normally fish with at least two people, and sometimes invite a third person along. If you want to go big, there is nothing stopping you, but just realize the cost will go up too. This build is all about saving lots of money, while still getting a comfortable, functional ice house.
Trailer Costs
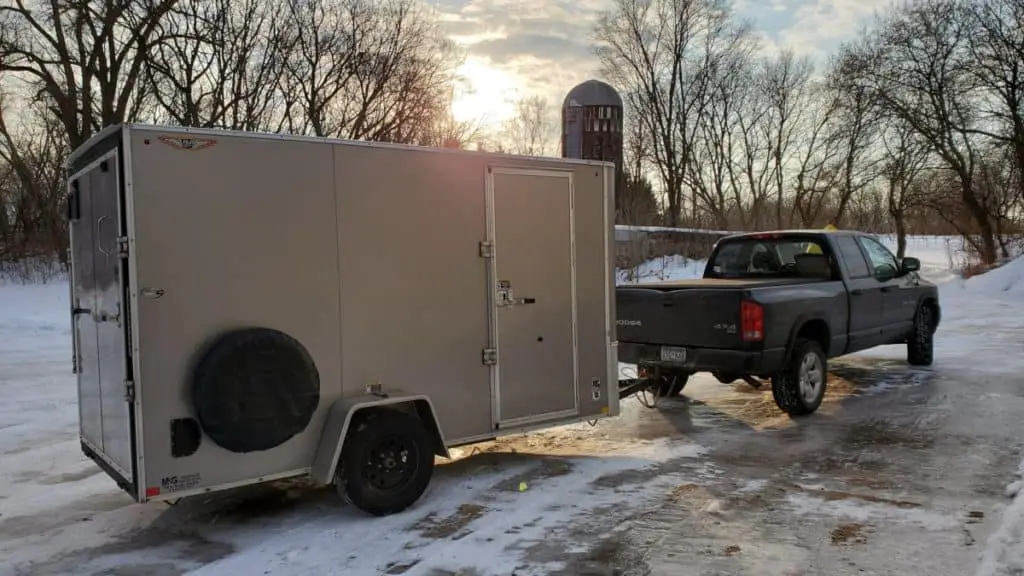
This will be your biggest expense. If you already have a trailer, then you just drastically reduced the cost of this project. If you have to buy one, expect to pay between $3,000 and $4,000 for a trailer similar to the one shown above. We bought ours for $3,000 from a trailer dealership. It was bought new, used once and sold back to the dealer, so we got it at a reduced price. You can always search the classified and possibly find a cheaper used one.
Trailer Features
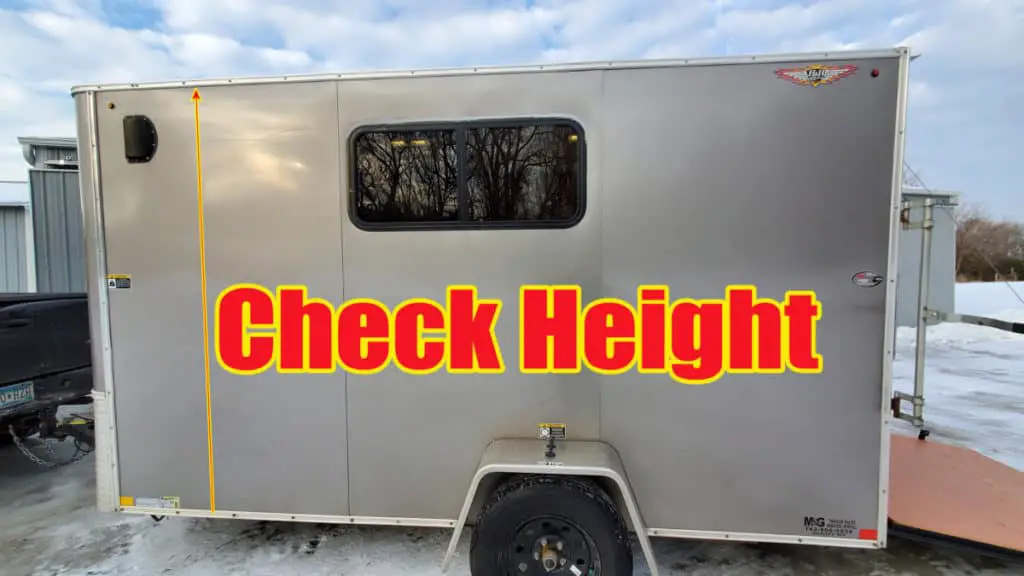
Here are some important things to look for when buying a trailer. One of the main reasons we went with this particular trailer was for the high ceilings. They were about a foot taller than the one ones we saw at stores like Fleet Farm.
We also want to get as much use out of it as possible, which means keeping it lightweight so we can use it on thinner ice. One way to save weight is to buy a trailer with a single axle. To keep it simple, we didn’t get one with electric brakes. You might notice that the axle on this trailer does not drop down like most ice houses do. It is still usable this way by using sleeves in your ice holes to bridge the gap. I will go over this in more detail later.
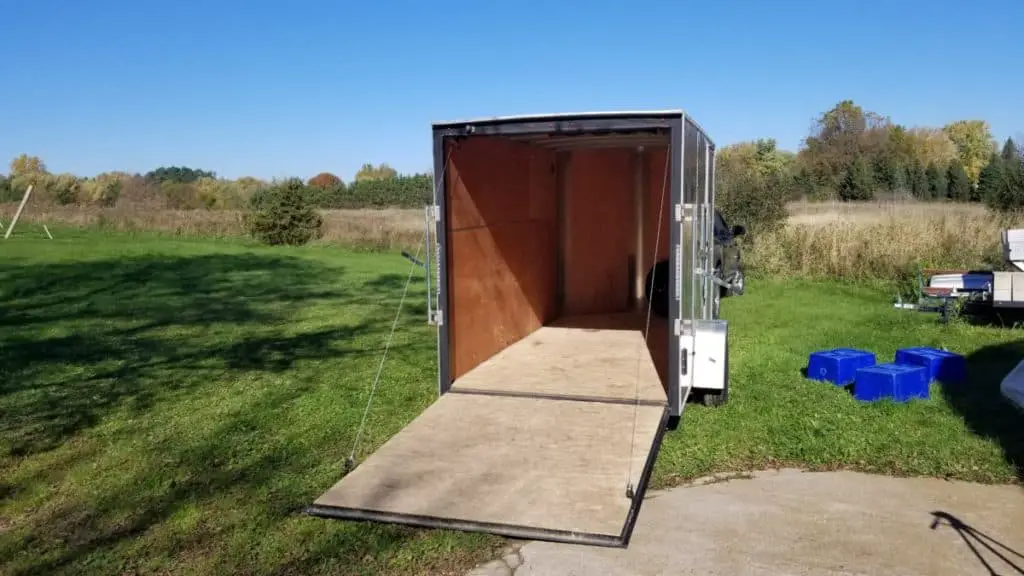
Another big feature we like is getting a trailer that is a toy hauler, meaning the back opens up. Not only does it give you a second door to escape out of in case of an emergency, but it also allows you to haul large items. This trailer is large enough to drive an ATV directly inside and also haul my Otter Lodge portable fish shack at the same time.
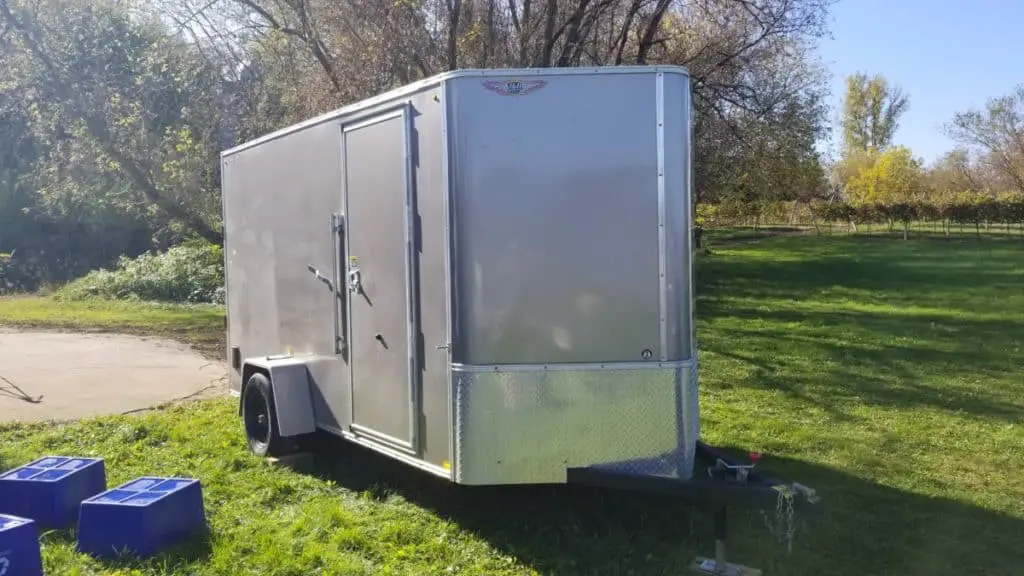
If you are going to follow along with the build I did, then you will need a trailer with a “V” front. This gives us an extra 28 inches of space and is where I installed all the important stuff to turn this trailer into an ice house.
Floor Paint
Your trailer floor will most likely be made out of bare wood. As you enter the ice house, you will be dragging in snow on your boots. There will be plenty of water getting on the floor as you pull fish out, or scoop slush out of your holes. For this reason, you will want to protect your floor with some kind of waterproof paint.
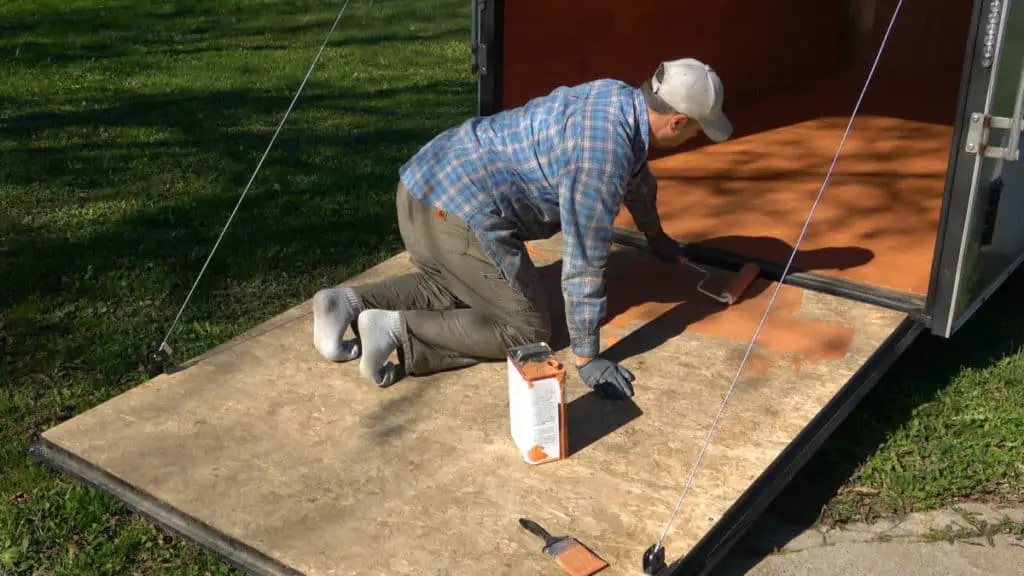
I just finished waterproofing my deck with Thompson’s WaterSeal. I had just enough left to cover the floor of the ice house. It worked great! Not only does it look better, but it is also waterproof. If your ice house gets a lot of use, you may need to freshen it up with a new coat each year.
Putting Holes In The Floor
I put three holes in the floor because there will be three people fishing in here. I might add a fourth hole so I can have my underwater camera and fish finder in a separate hole. You will need to determine where you will be most comfortable fishing and come up with a layout for where to cut the holes.
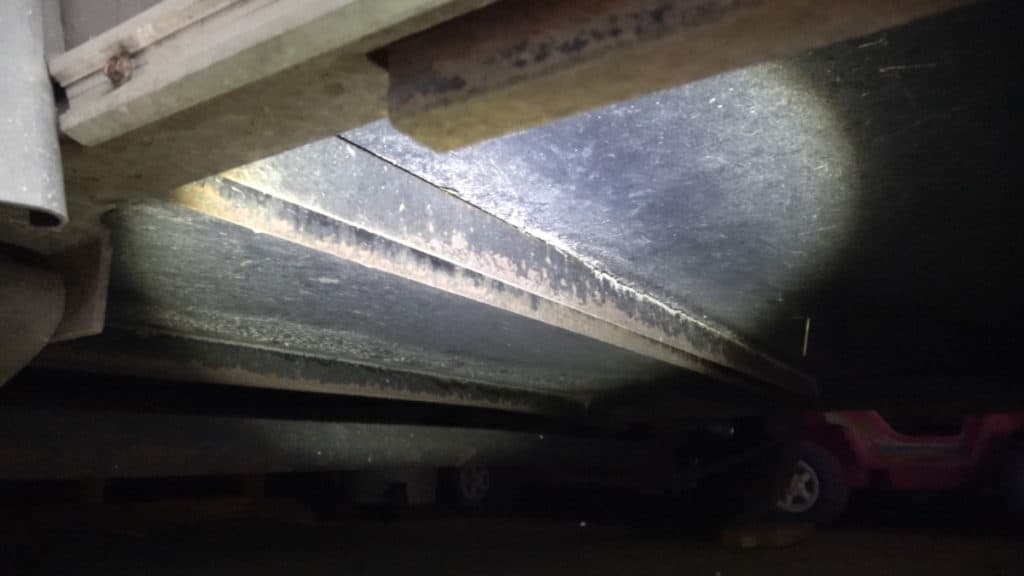
Before you do any cutting, take a look under the trailer to make sure you are not cutting through the frame, wires, or are directly above the axle.
You will need to purchase these hole covers to frame out the hole you cut and to be able to cover them when not in use. They will run you $13 each. (Now $30 each)
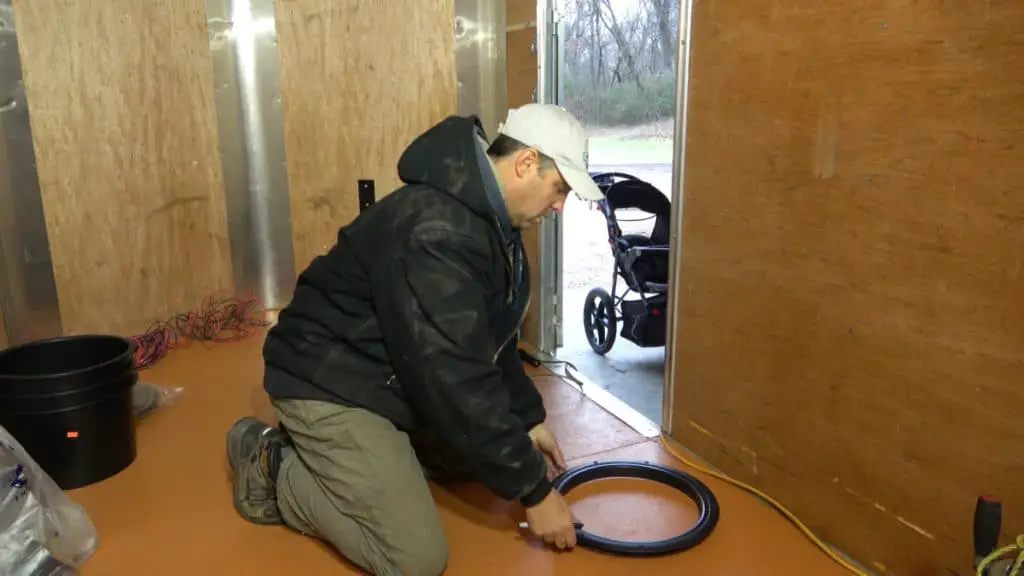
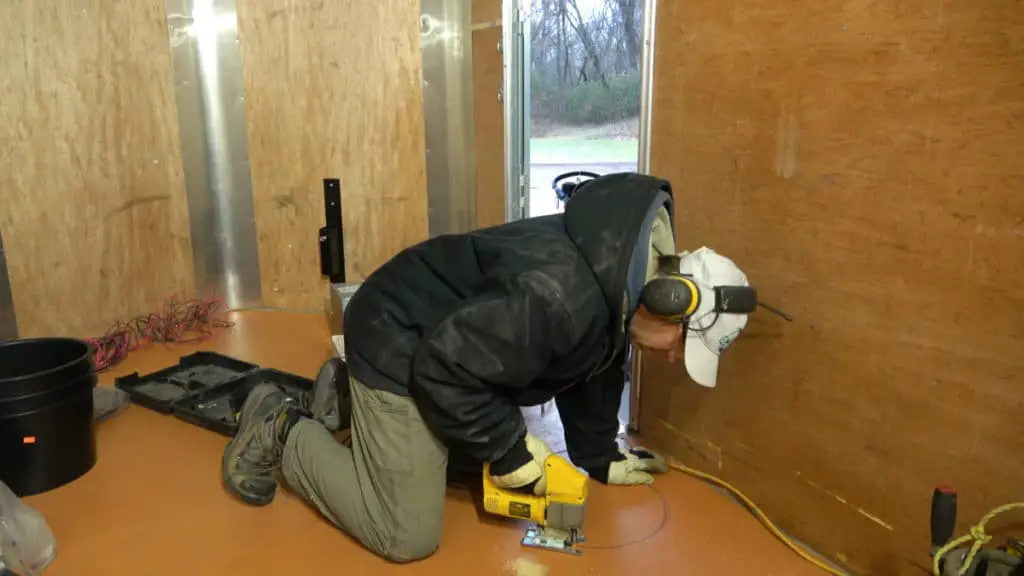
Pull the cover off the ring and use it as a cutting template. Just draw around the outer edge and remove the ring. Next drill a hole with a half inch drill bit so you can have a starting point for your jigsaw, and start cutting.
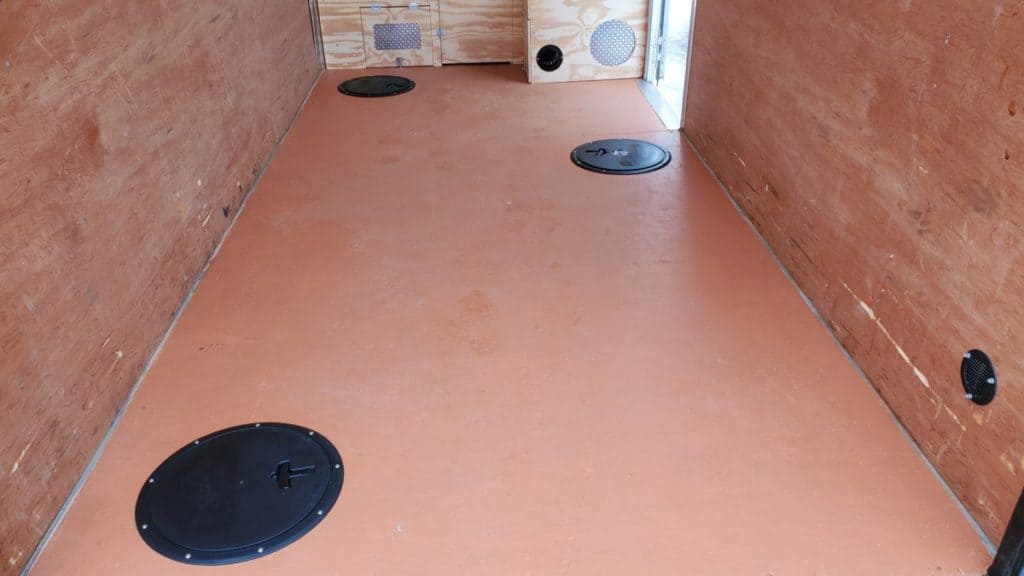
Here is what it looks like with three holes installed
As I mentioned earlier, You will need to purchase sleeves to go inside these holes to seal it to the ground since it does not have a drop down axle. Sleeves will cost $13 (updated cost $40) each. I found some sleeves that even glow in the dark! I wonder if they light up enough to see your line. I have not tried them yet, but if you want to check them out, you can find them here.
Relocating The Spare Tire
The spare tire in this trailer was located on the inside up in the front “V” section, right where I want to install everything, so it had to go. Fortunately it only has four screws holding the bracket on, and they came out real easy.
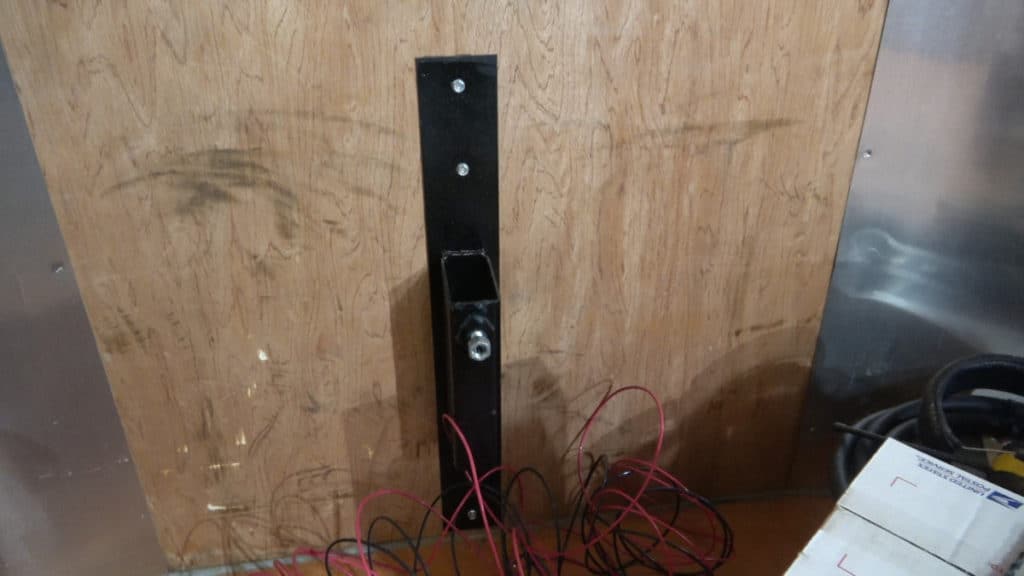
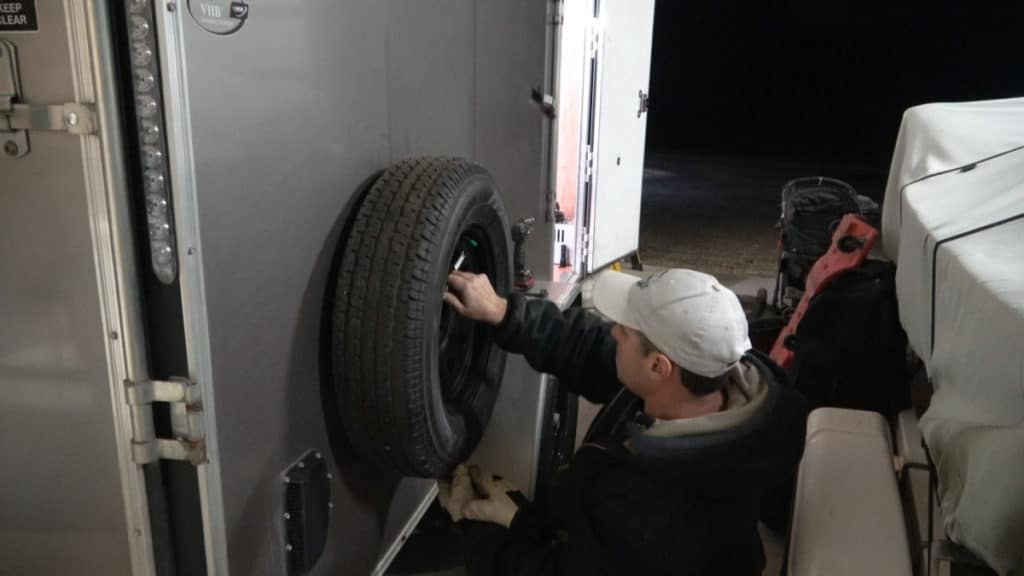
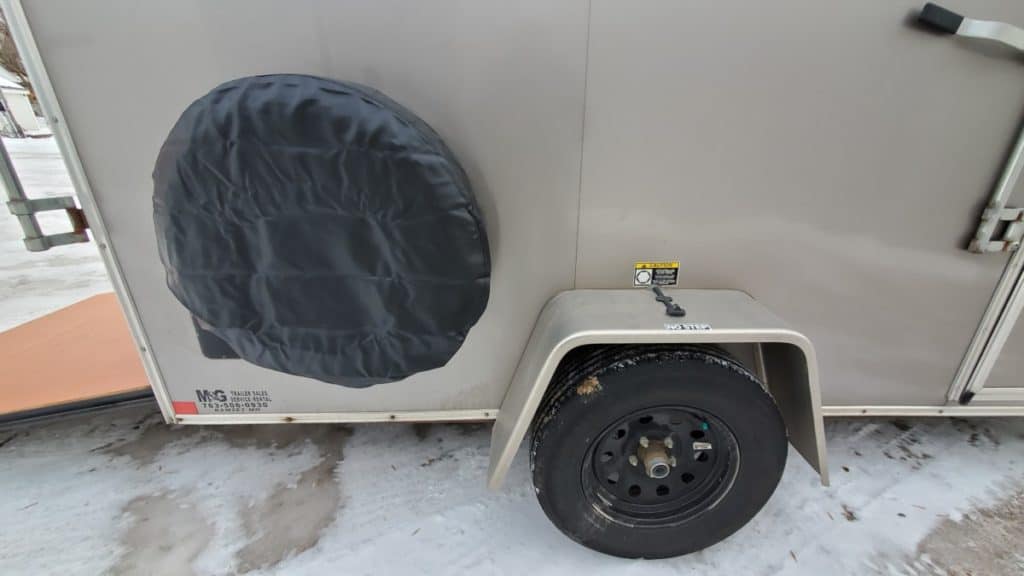
I just relocated it to the outside, just behind the passenger side tire.
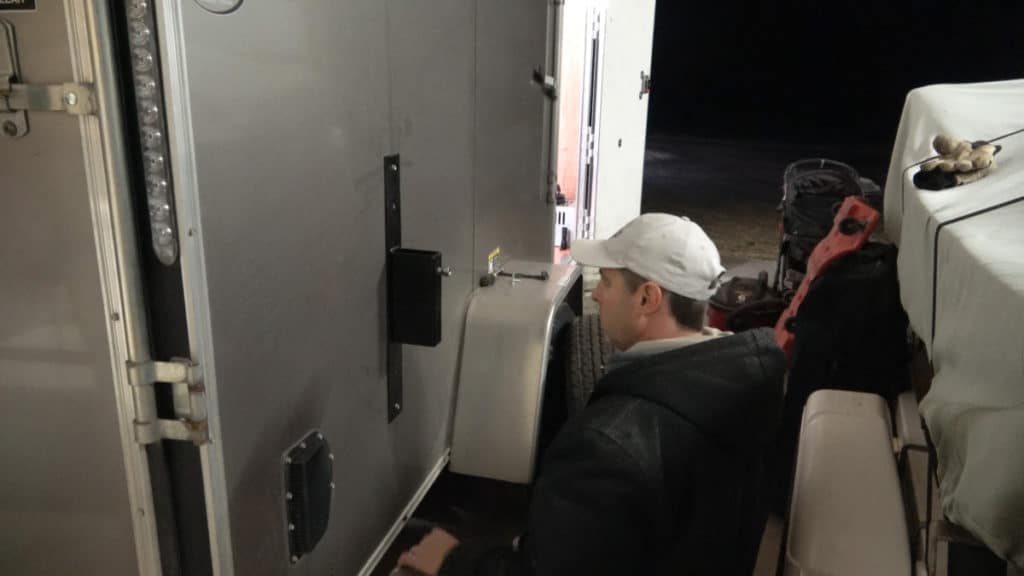
To do this, you will need to locate where the metal frame is and screw into it. Its pretty easy. Just like you would tap on a wall in your house to find a wood stud, you can do the same here. It was easy to find. Then drill a pilot hole and screw the bracket to the outside.
To protect the tire and make it look nice, you should get a spare tire cover for it. They are very cheap. You can order one from amazon for only $13.
Installing An Ice House Furnace
You basically have two options here. You can go with a portable propane heater. This type is easy to use, but is not vented and will have to sit somewhere on the floor. It gets hot, so you will need to give it plenty of space so you don’t burn your fishing line or yourself. Because it is not vented, you will have to add some sort of ventilation to your ice house to get fresh air inside. The main appeal to this type of heater is cost. It will be significantly cheaper than a vented one.
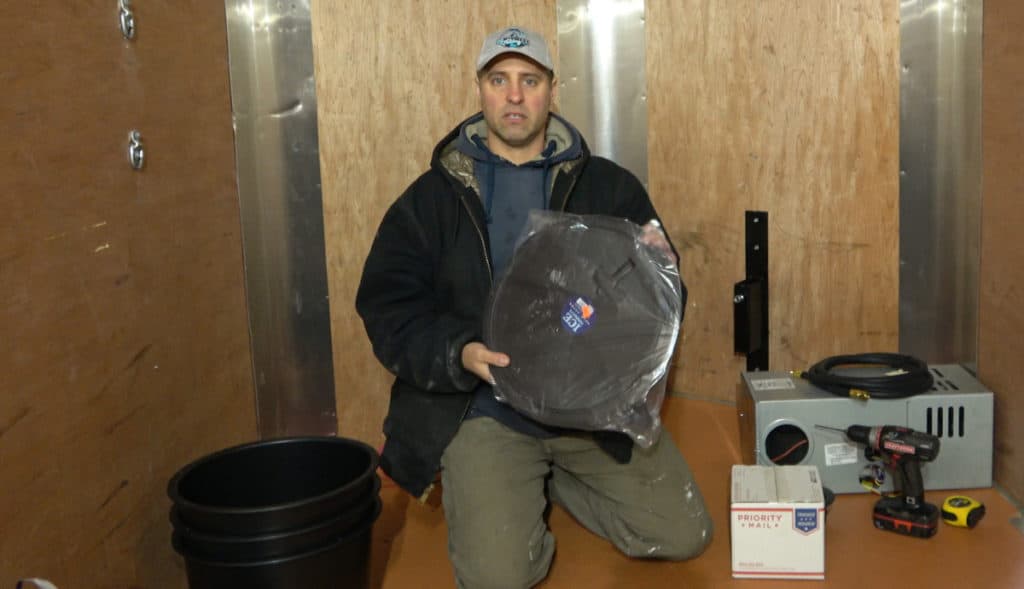
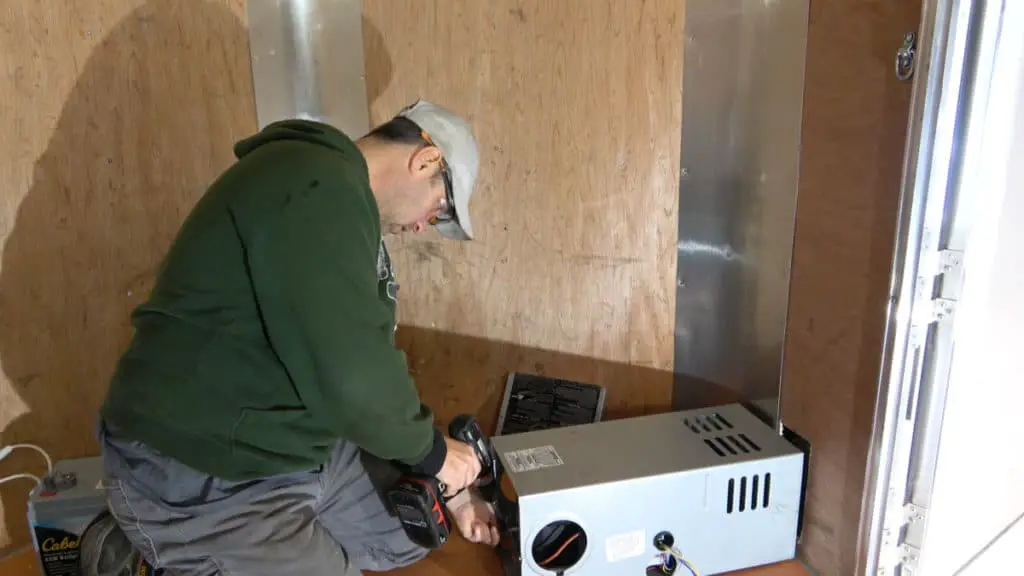
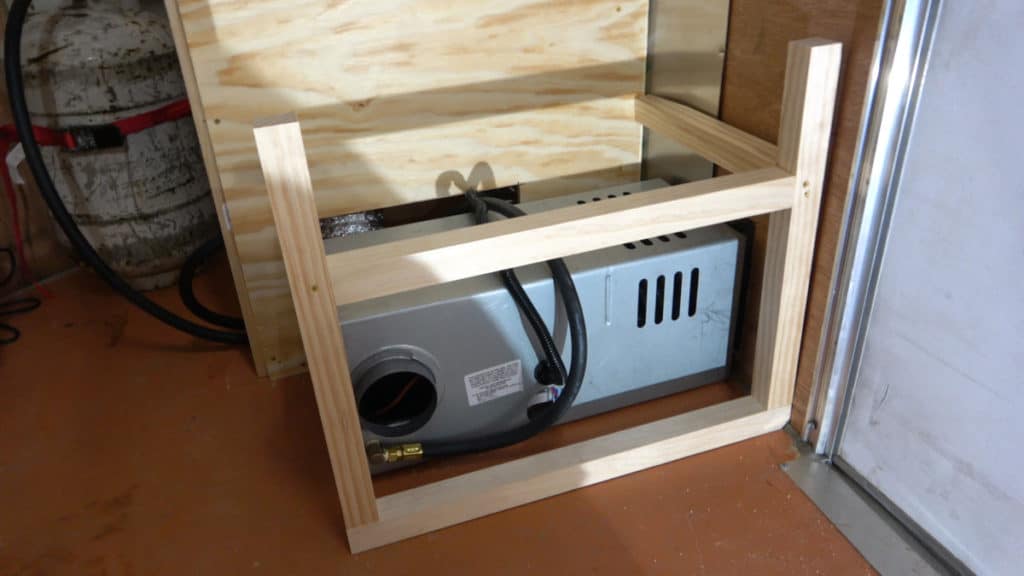
The other kind is a vented furnace. You can get either a ducted furnace, or one with a vent that blows directly out the front. I installed a 20,000 BTU furnace. The same one that is used inside an Ice Castle. These work just like the forced air furnace you find inside many homes. A blower fan draws in air from the rear and blows heated air out two ports near the front. The main drawback is the cost. We got a good deal at only $412.
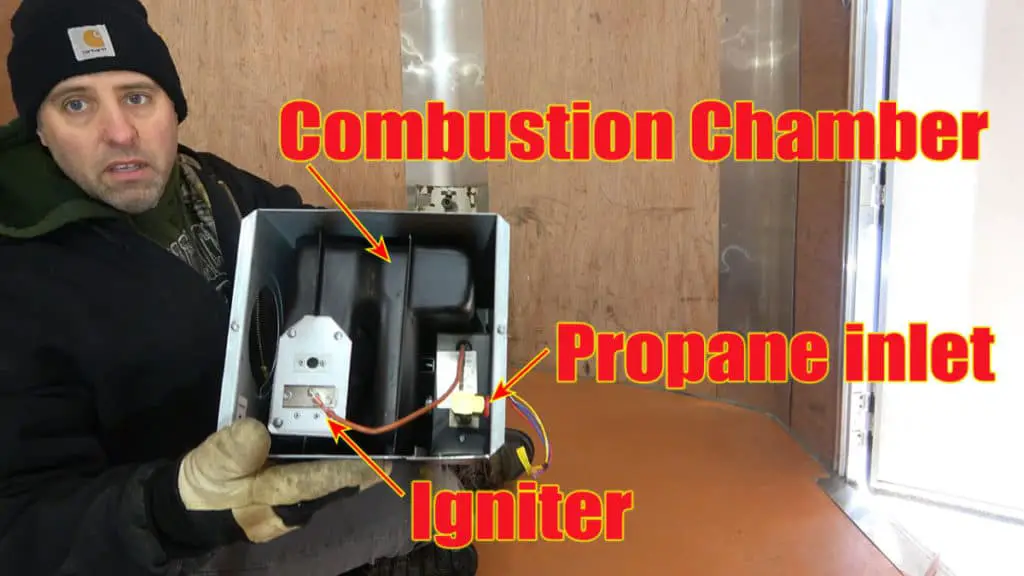
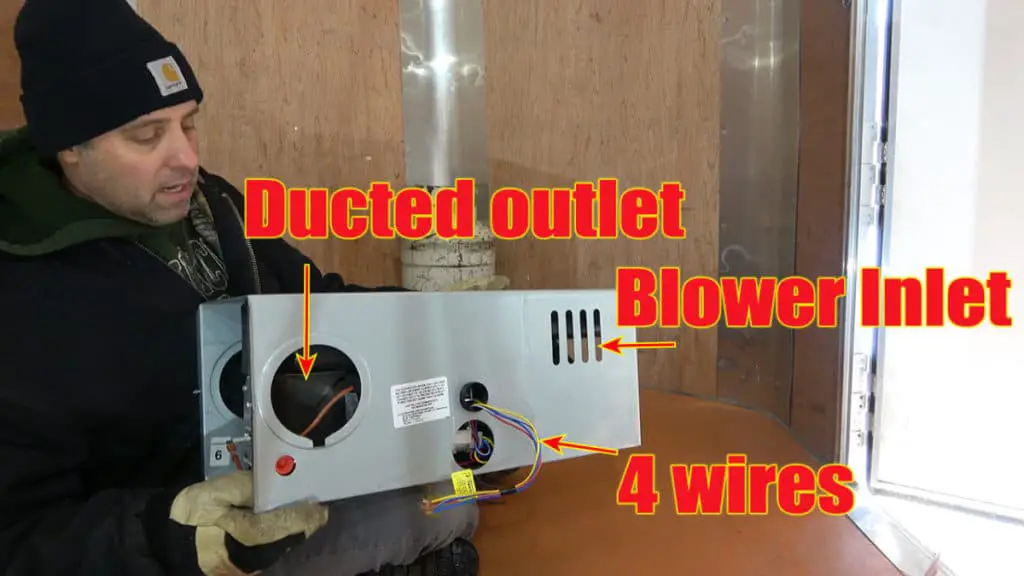
Lets look at the parts of this furnace. On the frontside you can see the black painted heat exchanger. The fan blows air across the heat exchanger and out the two ducts on either side. They also make this same furnace with a grill on the front. You usually see them in campers, where the hot air blows directly out the front of the unit. This one has two ports that you can duct out to anywhere you want. It has a solid front cover that screws on. You can see the igniter sticking out the front as well. When you turn the unit on, you will hear it clicking until it ignites.
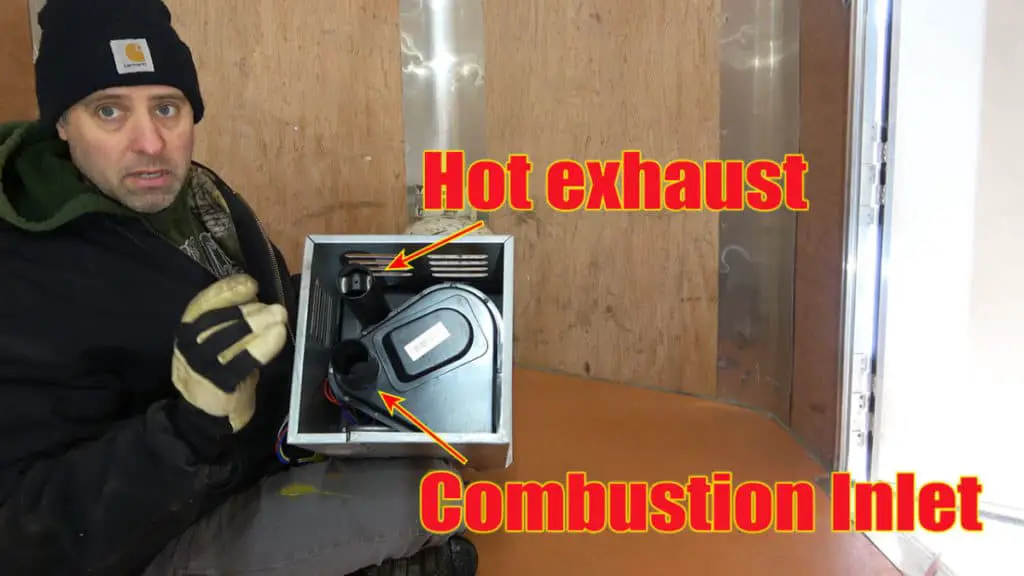
On the backside you see the air inlet for the combustion chamber. This is made of plastic. Right above it is the hot exhaust pipe. That one is made of metal. These two pipes will need to exit to the outside of the shack.
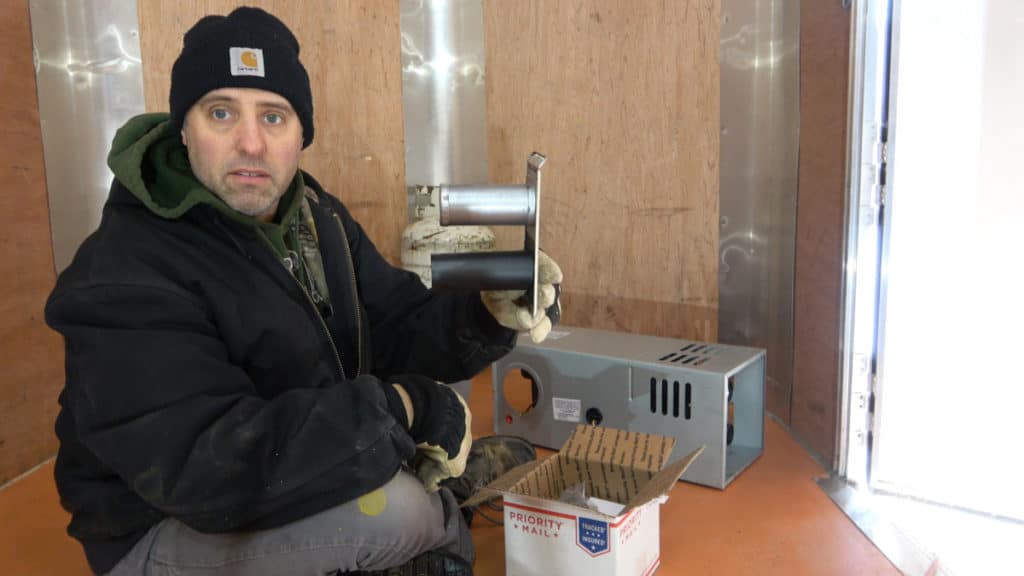
The furnace comes with a kit that has the exhaust pipes to connect to the pipes on the back. They just slide over each other. It also comes with a thermostat, a 90 degree brass fitting for the propane hose, and two metal rings to attach duct piping to.
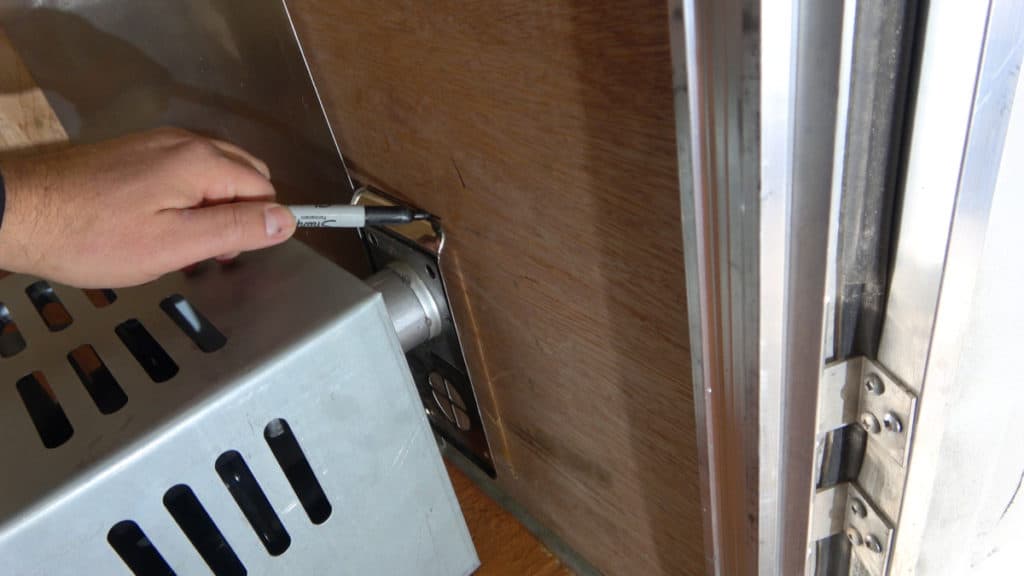
Now you need to decide where to install it. The directions require it to be placed on the side or the back. It cannot be placed with the exhaust facing the front of the trailer. Even if your trailer has a “V” front, it cannot be installed there even though it has a slant to it. This prevents air from ramming up inside the furnace. I installed mine on the side just in front of the door.
To line it up properly, I temporarily attached the exhaust pipe and marked its location with a marker.
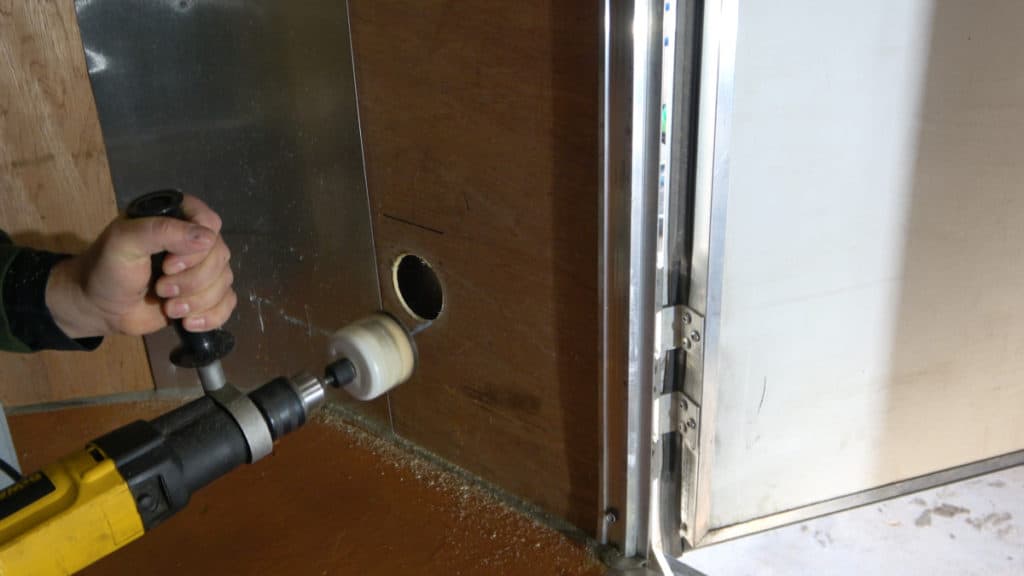
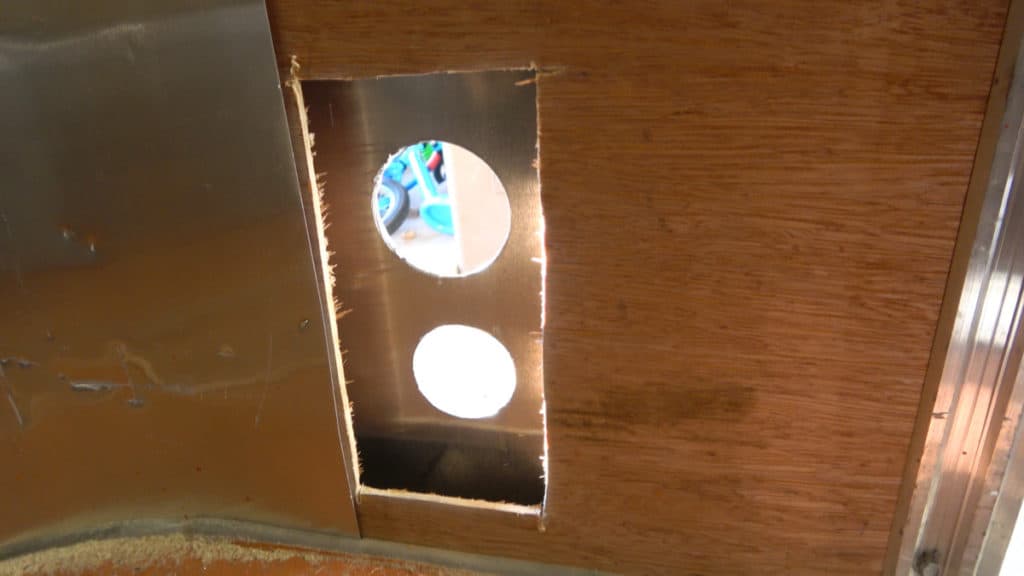
I cut out the holes using a hole saw slightly larger than the pipe. This gave me some wiggle room for adjustments.
Once I had the two holes drilled, I cut out a section of the plywood so it wouldn’t come in contact with the hot exhaust pipe. This will be hidden behind the furnace and won’t be seen.
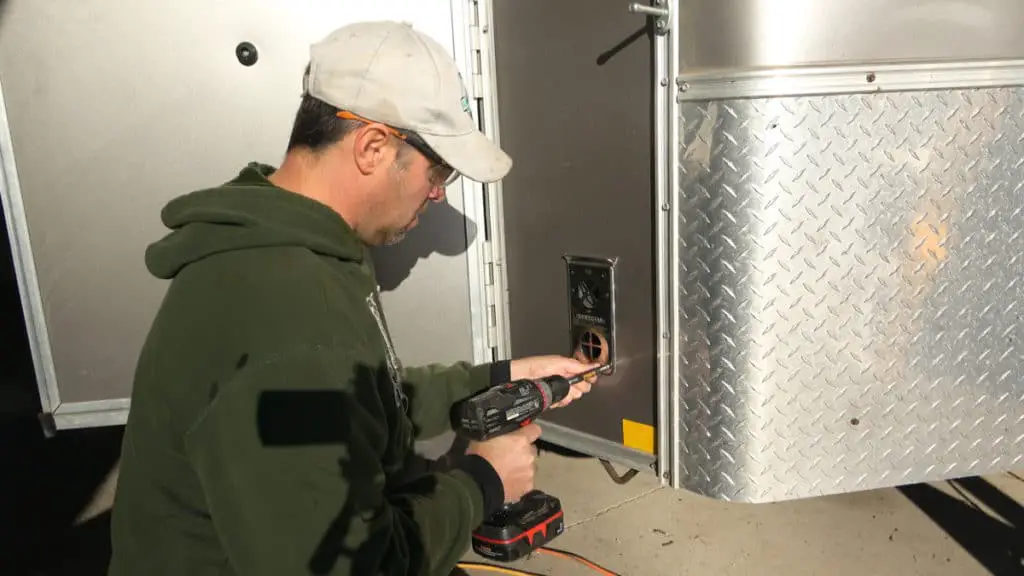
Next I screwed the outside exhaust plate on with stainless steel drill point screws. Now that those pipes were holding tight, I can push the furnace up against them and the two pipes slide together.
Once you have the furnace in place, there are two holes on the bottom where it can be screwed down to the floor.
Next I attached the propane hose and the rings on the duct outlet.

To make this furnace run, all you have to do is connect the propane hose to a tank, and connect the four wires. Two wires go to a 12 volt battery. The other two go to your thermostat. Its that simple! When you turn the thermostat lever to a heat setting, it automatically starts up and supplies heat, then shuts down when reaching the desired temp.
Building The Front Wall
Now its time to build the front wall that will house all of our supplies. I made mine 48 inches tall, but made the top to it only 38 inches tall. That gave it a 10 inch lip so I could store things on top of it and have that 10 inch lip to keep things from falling off.
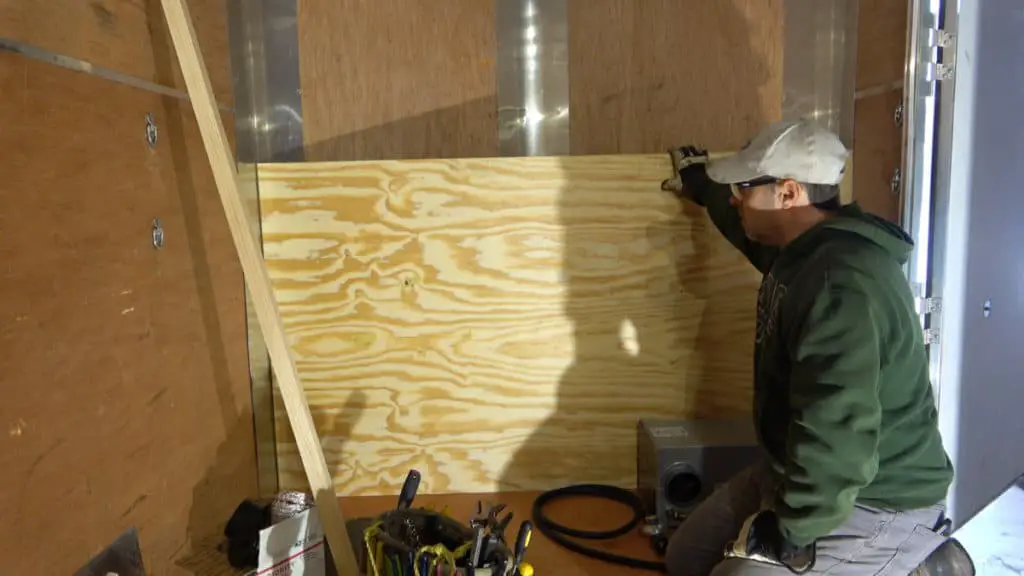
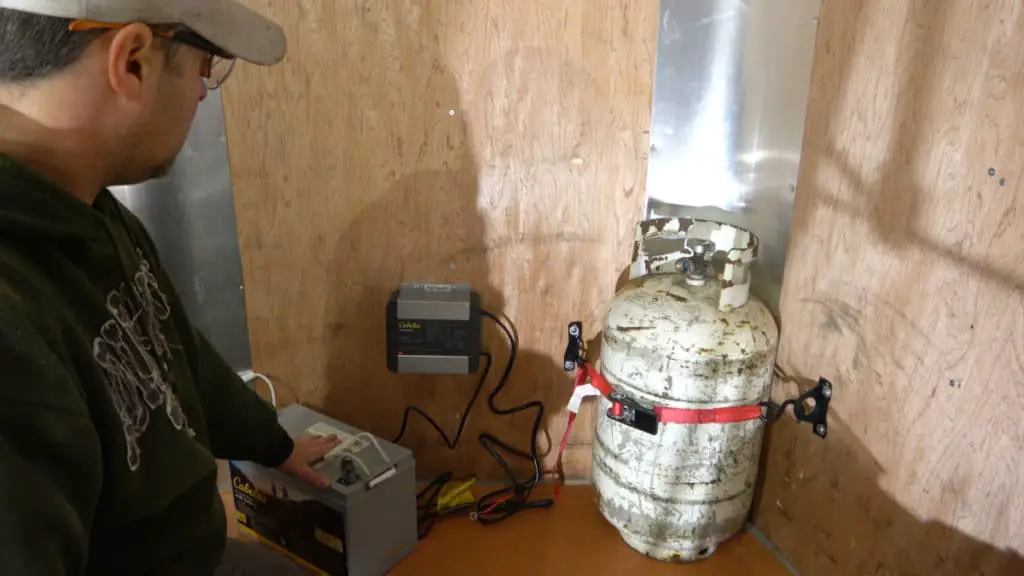
I made the wall out of 1/2 inch plywood and framed the backside with 2×2’s. Before I attach this wall I need to secure a propane tank and a battery while I still have easy access to it.
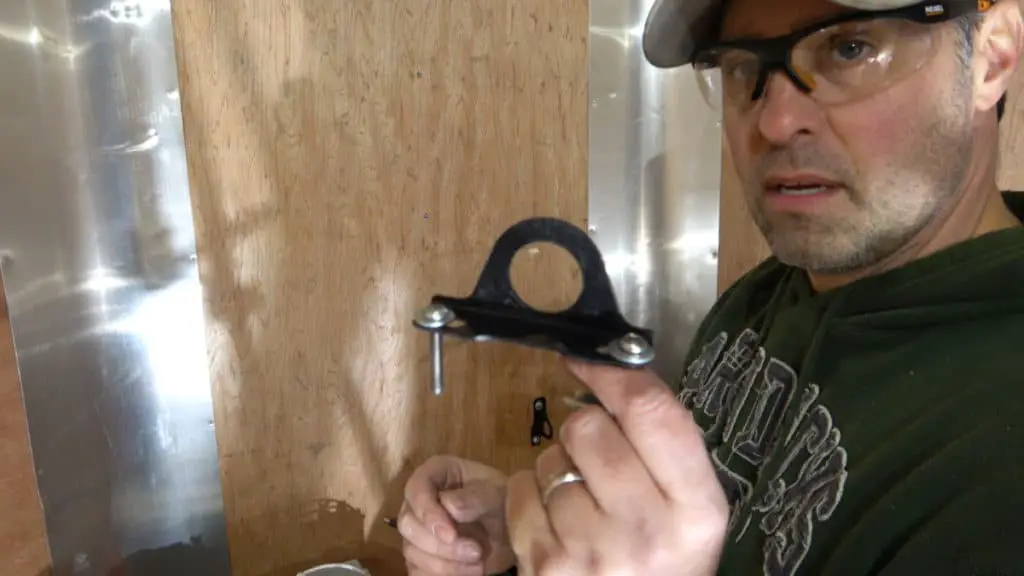
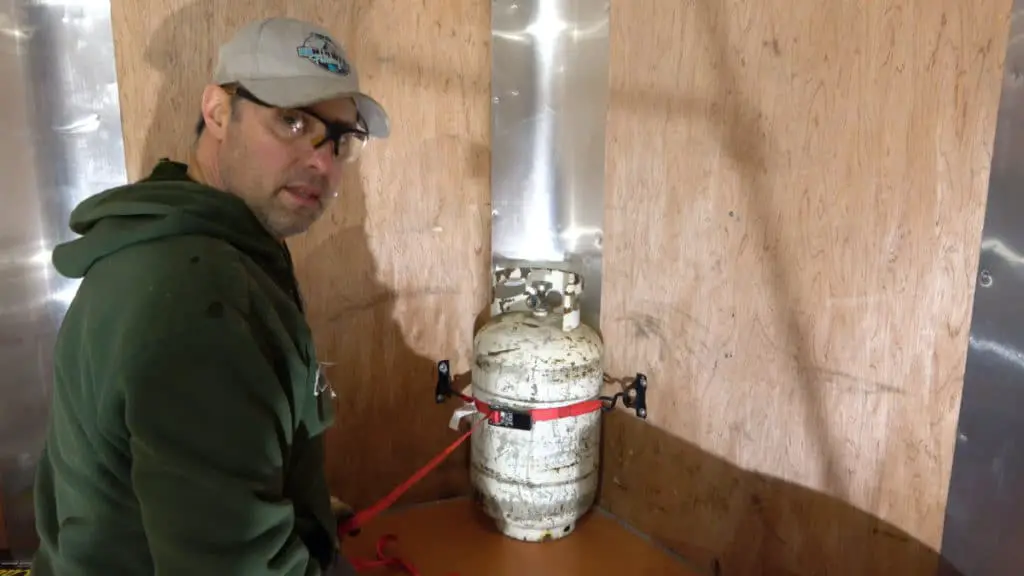
To secure the propane, I attached to rings to the front angled walls. These were spare parts I found in my shop. The 30 lb propane tank fit nicely tucked into the “V” of the trailer. Then I used a ratchet strap to snug it down.
Next, I installed a battery charger on the wall. This is a single bank charger from Cabelas. They sell for $100, but I got a black Friday deal for much cheaper.
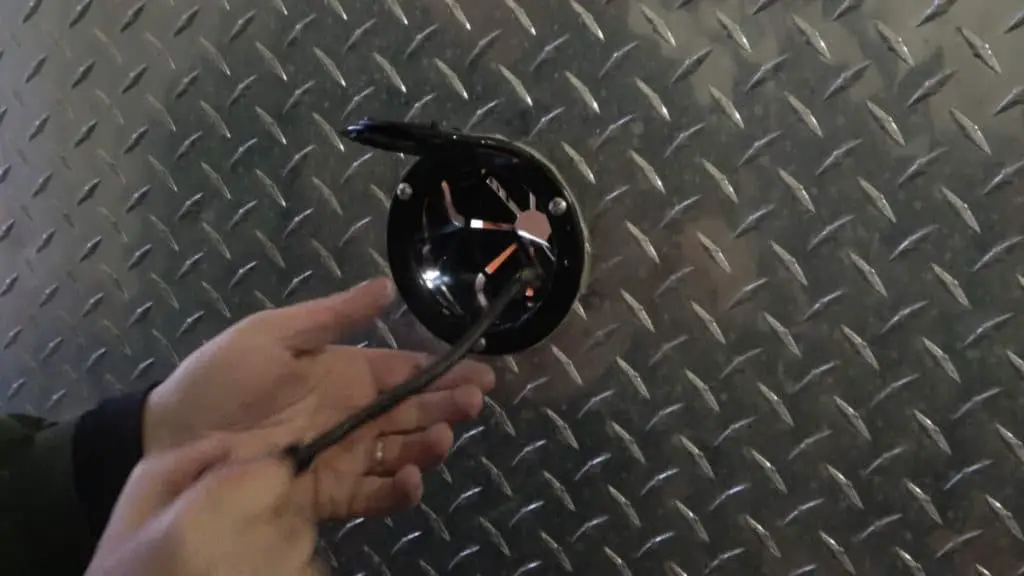
There will be a battery installed behind the wall as well. It will be on a plate that is screwed to the floor. To easily charge the battery, I installed a cable hatch to the outside. Just flip it open and pull the plug out. These are really cheap on Amazon at only $9. I used a 4 inch hole saw and the hatch fits nicely inside it. I put some butyl tape around the flange of the hatch to keep water out.
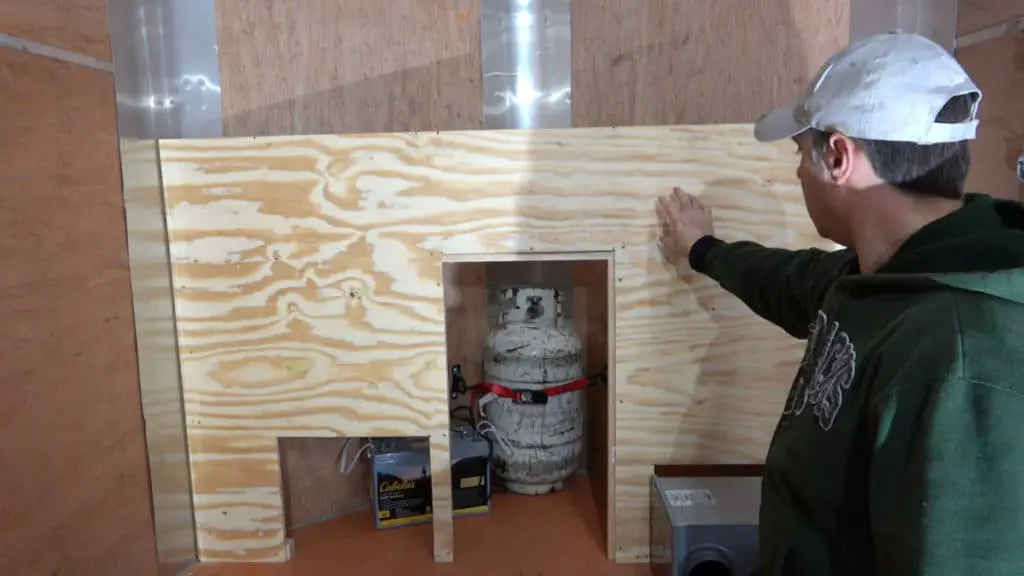
Now I secured the front wall to the sides of the trailer using 4 inch screws to penetrate through the 2×2 frame and into the side wall. Prior to installing the wall, I cut out door holes for the propane tank and battery. I also cut a hole behind the furnace to rune the hose and wires through.
Next I cut two more holes. One for a furnace duct, and the other for a computer fan.
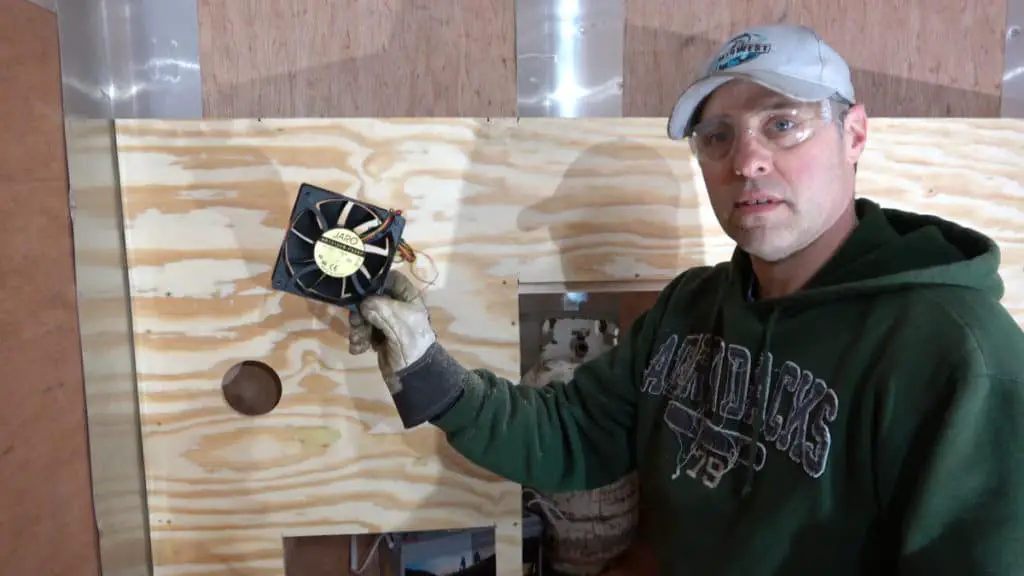
If you buy one of these larger computer fans, they may have 3 or 4 wires. I thought it was for different fan speeds… I was wrong. The other wires are for your computer motherboard. It gives information like speed and temps. You will only need two of these wires that will run to the battery.
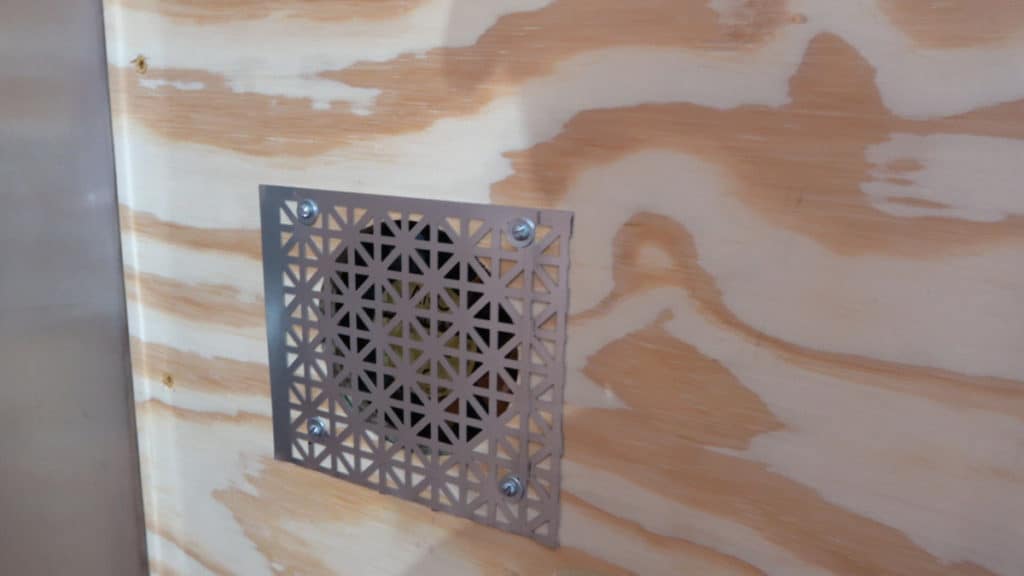
I installed the fan behind the board and covered it with wire mesh, so no little kids can stick their finger in it.
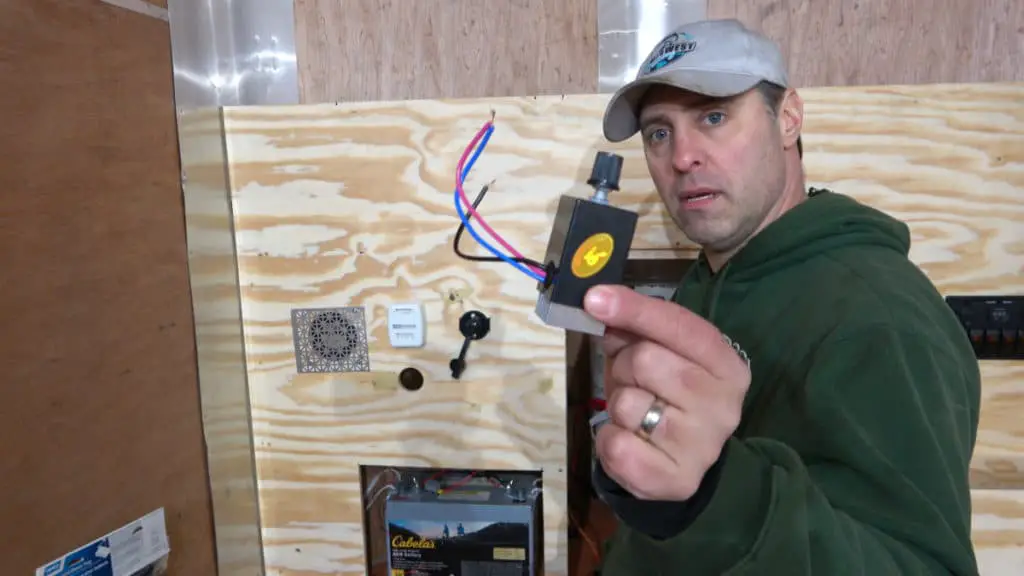
I tested out this fan and quickly realized that it runs way too fast. It shook the front wall and made horrible sounds. The solution was a potentiometer. This worked wonderfully. Now I can adjust the speed of the fan and keep it nice and quiet. It didn’t fit through the 1/2 inch plywood, so I had to make a metal plate for it to secure to.

Next I secured the battery down just below the fan.
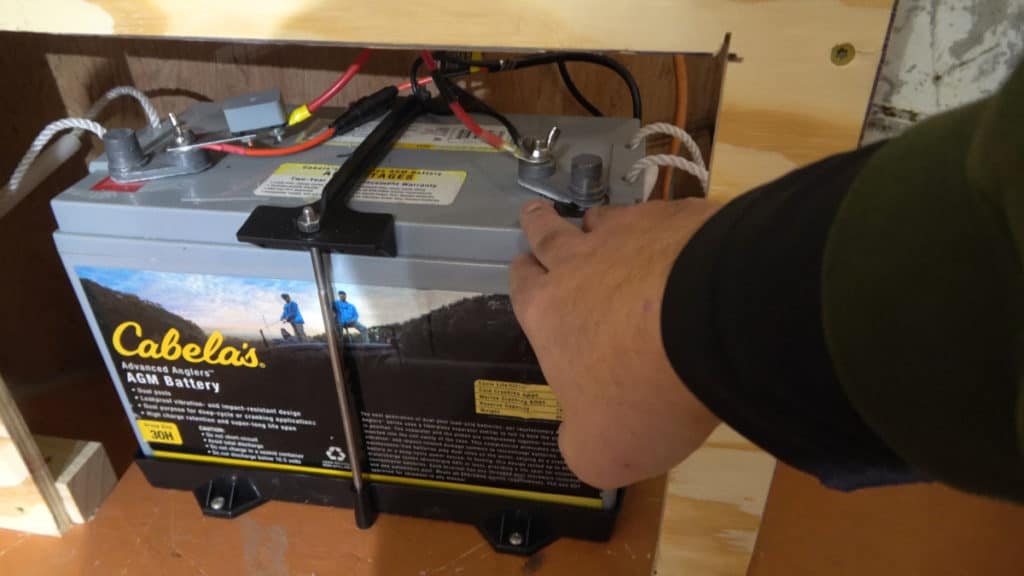
For this I used a battery tray that screws to the floor. Since I have such a large battery, it barely fit into this tray. The big plastic knobs that secure the top bar didn’t have enough room to screw on, so I had to substitute some small nuts instead.
For the top board of the front wall, I framed out the triangle with 2×2’s and cut out a 3/4 inch piece of red oak plywood to lay nicely on top. Cutting this piece to fit perfectly can be tricky. To cut the corners at the right angles, I used a cardboard template. I used a scissors to trim down the cardboard until it fit nicely in the corners, then transferred it to the board I cut.
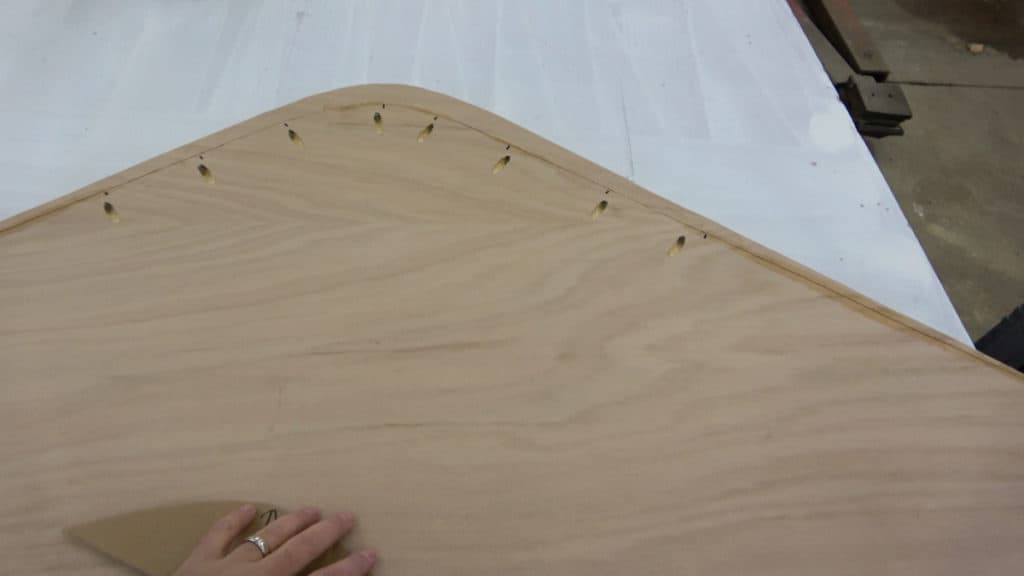
First I measured the size of the triangle piece and drew it on the plywood. Then I used my corner template to round the corners. What I didn’t realize was, by doing this I shortened the width of the board by an inch and a half. This was a really nice board and I only had enough to make this one piece, so I decided to salvage it. I used pocket holes and glue to reattach the piece I cut too short. I sanded the topside and it looked good. I don’t think its noticeable unless I point it out.
I framed out the furnace and enclosed it with 1/2 inch plywood. I made the top have a lip on it, that made a nice little place to store stuff for easy access.
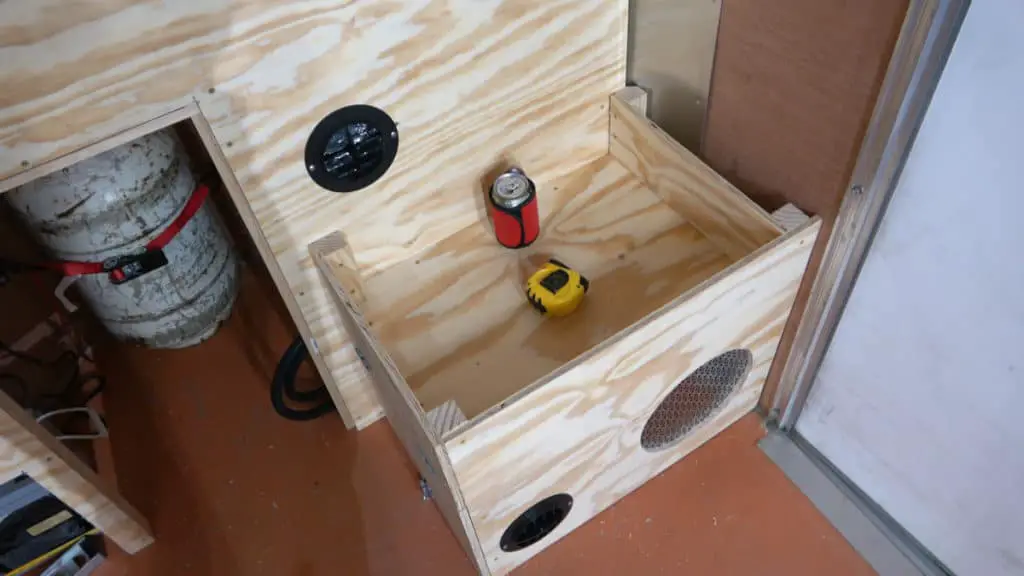
On the front I cut a large hole and put a metal screen on it for the furnace blower air. I also put the hot air duct at the bottom to warm our feet. The direction say to separate the hot air from the intake air by 18 inches. Mine is closer than that, but I have the hot air vent blowing away from the intake air, and its working fine.
To finish off the wall, I put doors on the holes I had cut out. I put a vent on the battery door so gasses from the battery can escape. There is a door on the front of the furnace which will allow access for maintenance.
Ceiling Lights
Before I insulate the ceiling, I ran the wires for the ceiling lights. I ran wires up the wall and along the corner where the ceiling meets the wall.
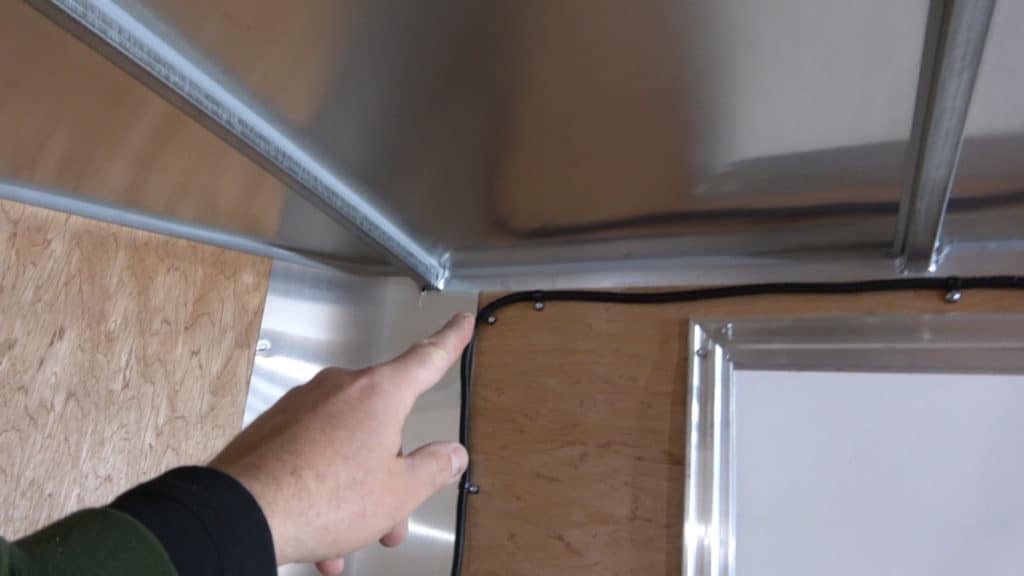
I’m installing two led lights in the middle of the ceiling, so I spliced the wires halfway down and ran a set of wires to the center of the ceiling. Then ran the remaining wires further down and also ended those in the middle of the ceiling.
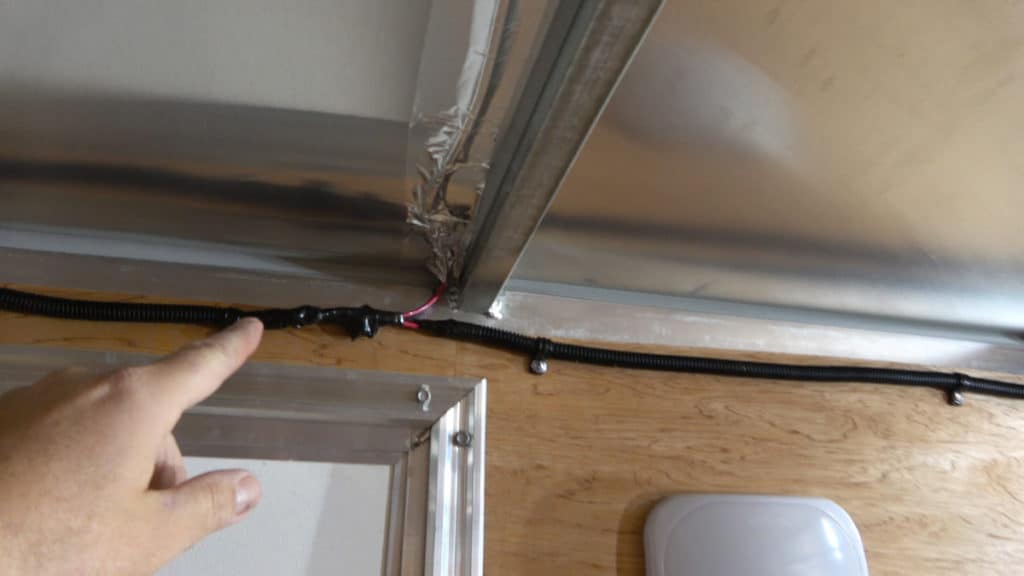
To make it look nice I enclosed the wires in a plastic conduit, and taped the wires to the ceiling with aluminum tape.
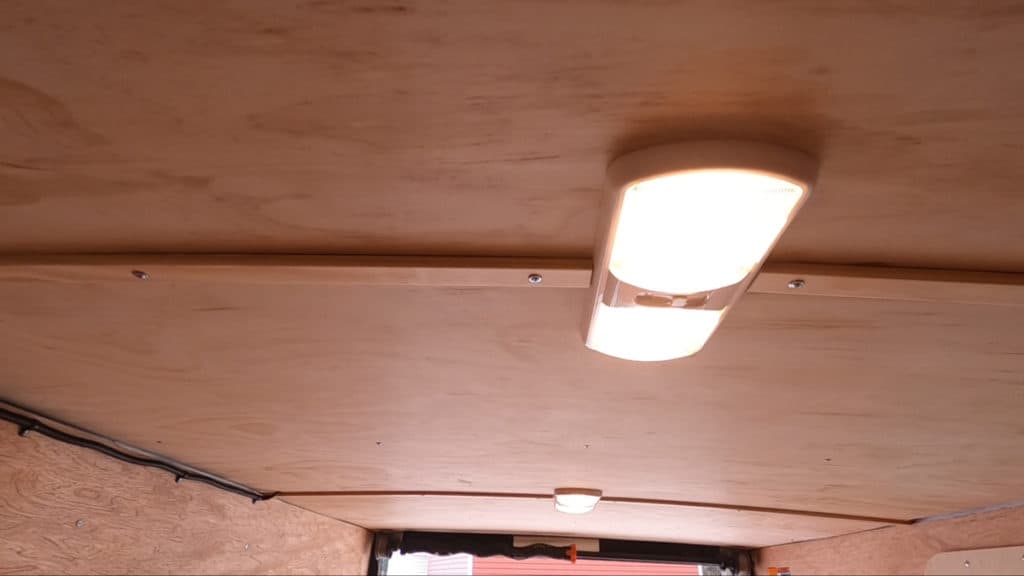
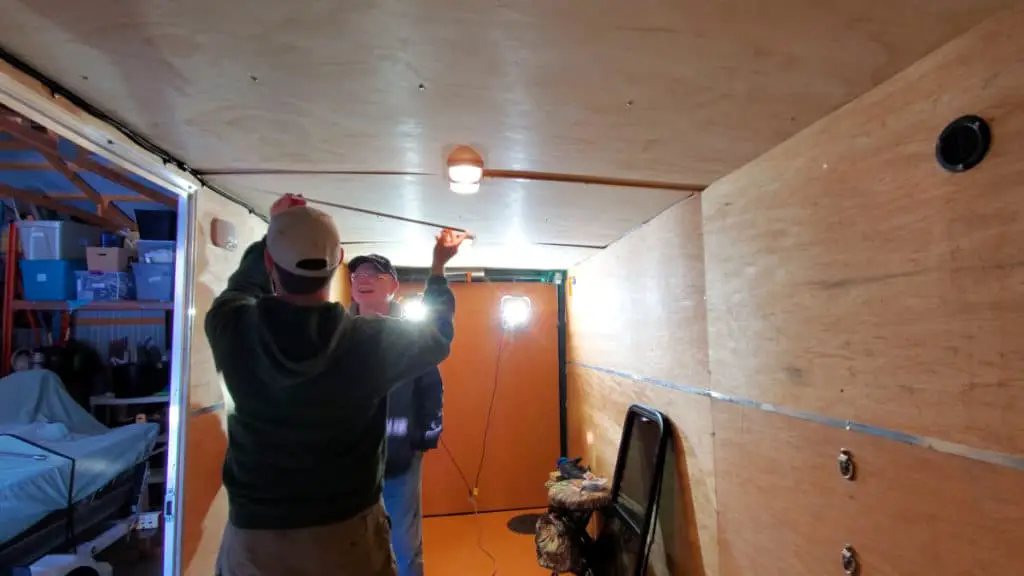
Here is what the lights looked like when finished. I installed two units, each have two lights that can be turned on and off individually. These lights have low power consumption and are very easy to install.
Insulating The Ceiling
I did not insulate the walls. They already have 1/4 inch plywood on them, but no insulation between the plywood and outer sheet metal. I figure its not really needed since it won’t be left on the lake overnight.
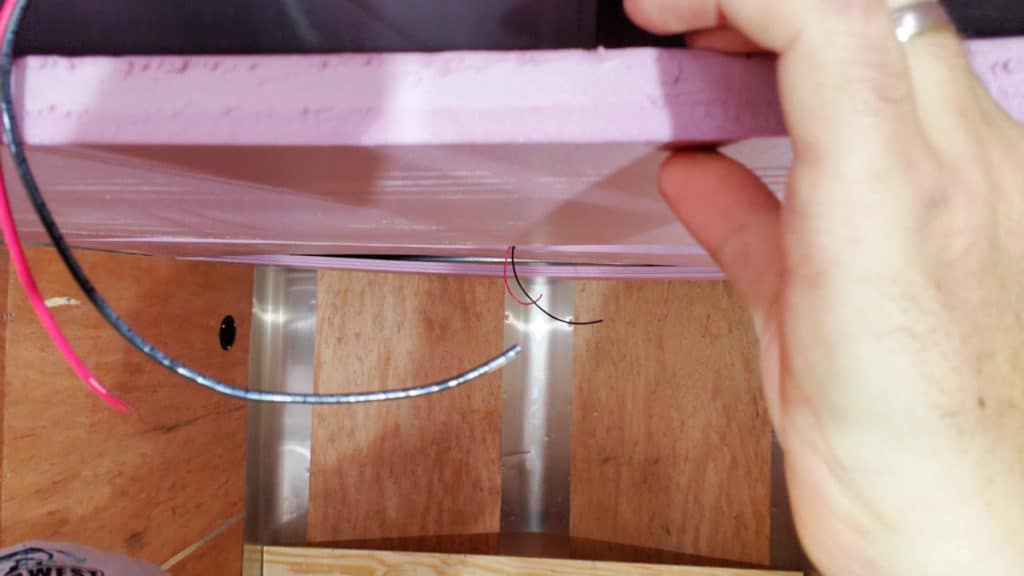
The ceiling is bare metal, so it will need insulation. For this we used one inch thick pink rigid Styrofoam. The metal frame is one inch thick, so it fit perfectly. We found that the cross members of the frame are not spaced exactly the same, so each one had to be measured and cut accordingly.
Installing Ceiling Panels
For the ceiling, I used 1/4 inch plywood. The metal frame has cross members spaced two feet apart. The plywood is four feet wide so it fit well. Just make sure the two ends of the plywood join up in the middle of the metal cross members.
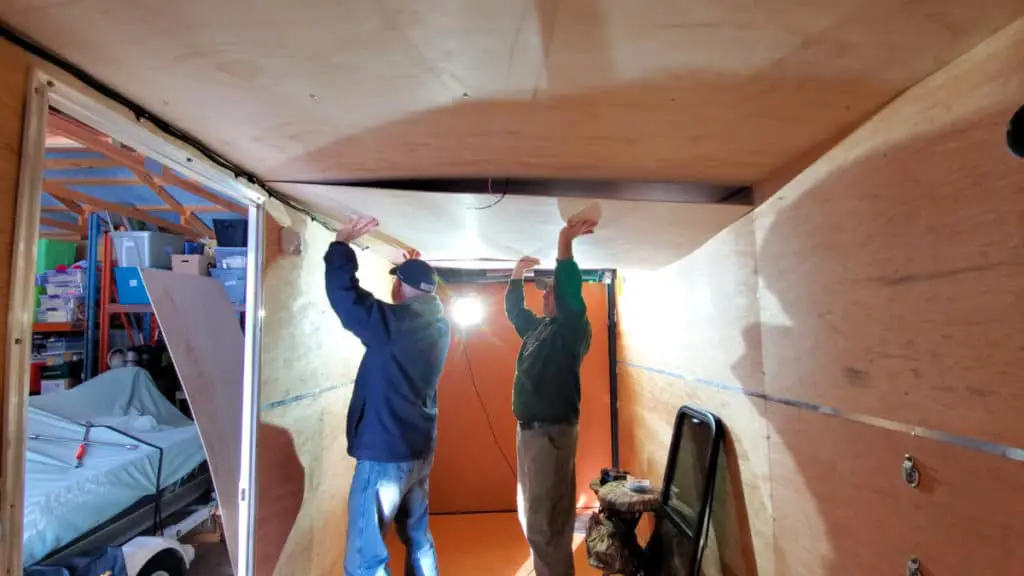
To hold the ceiling panels up, I used one inch pan-head screws with a drill point. I thought they would screw right into the metal, but the metal framing is too thick and required a pilot hole first.
You will want a second person to help you with this. One person can hold up the piece of plywood while the other screws it up to the ceiling. I put five screws on each end of the board.
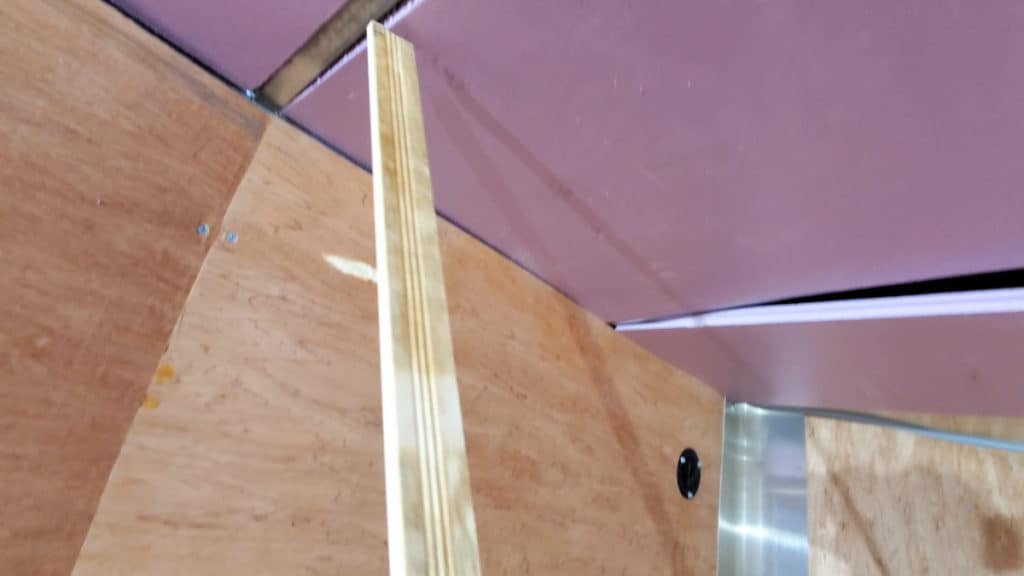
Where the two board ends meet, I covered the seam with a piece of wood trim that was one and a quarter inch wide. This not only makes it look much nicer, but it allows me to hold up both ends of the plywood with one screw drilled through the middle of the trim board.
The wires for the lights hang down between the sheets of plywood. I cut the trim to butt up against the light on each side.
To cut the ceiling panel for the front “V”, I used the board I previously cut as a template.
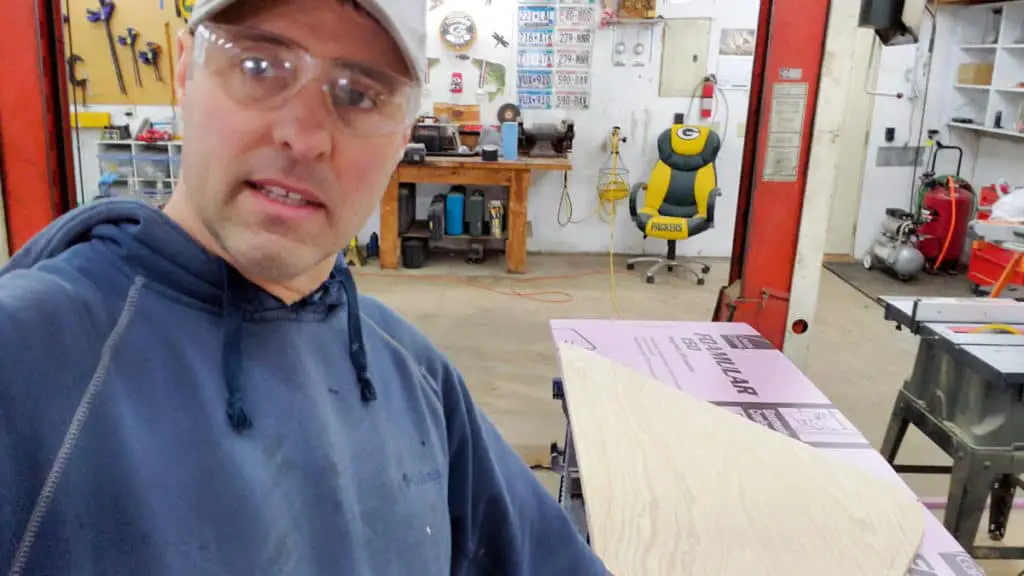
To cover the ceiling, I bought three sheets of 4×8 Styrofoam and three sheets of plywood. I cut off approximately two feet of the eight foot sheet to fit it to the ceiling. That left me with leftover pieces of two feet wide, not quite enough to cover the front piece.
I ended up screwing two pieces of Styrofoam together to make it wide enough. For the plywood, I found a scrap piece in my shop that was just big enough to use.
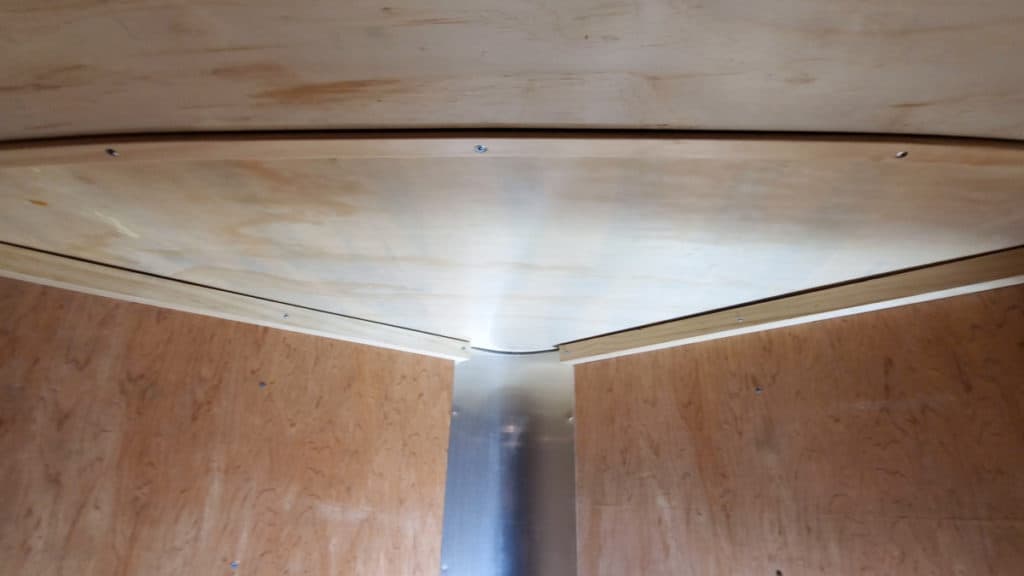
There is nothing to hold up the plywood along the front edges, so I screwed 2×2 boards near the top of the ceiling for the plywood to rest on, then secured the back side with screws and a trim piece.
Installing A Window In A Cargo Trailer
When this trailer is closed up, it is very dark inside, so we need to let in some light. For this, we will install a 18×42 inch window. This is a tinted window made for cargo trailers. The one I got is made by Redneck Trailer Supplies. You can also get a similar window on Amazon
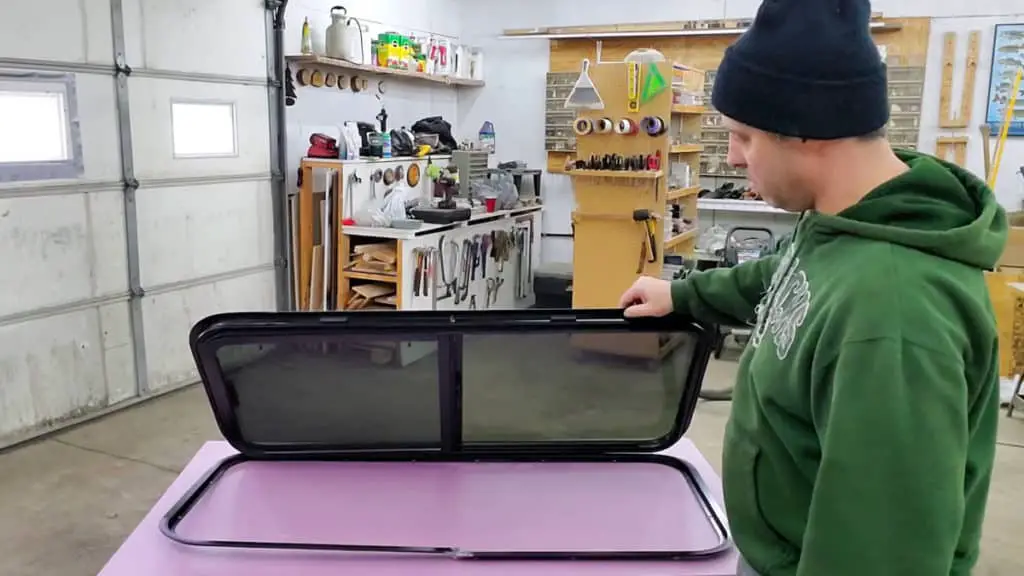
The dealer we bought the trailer from had two size options. We went for the bigger one. Unfortunately, they were back ordered, so we bought it directly from Redneck Trailer Supplies and got it for half the cost. You will also need to purchase the trim ring which is used to secure the window to the trailer. I’m not sure why it isn’t included. You can’t install the window without it.
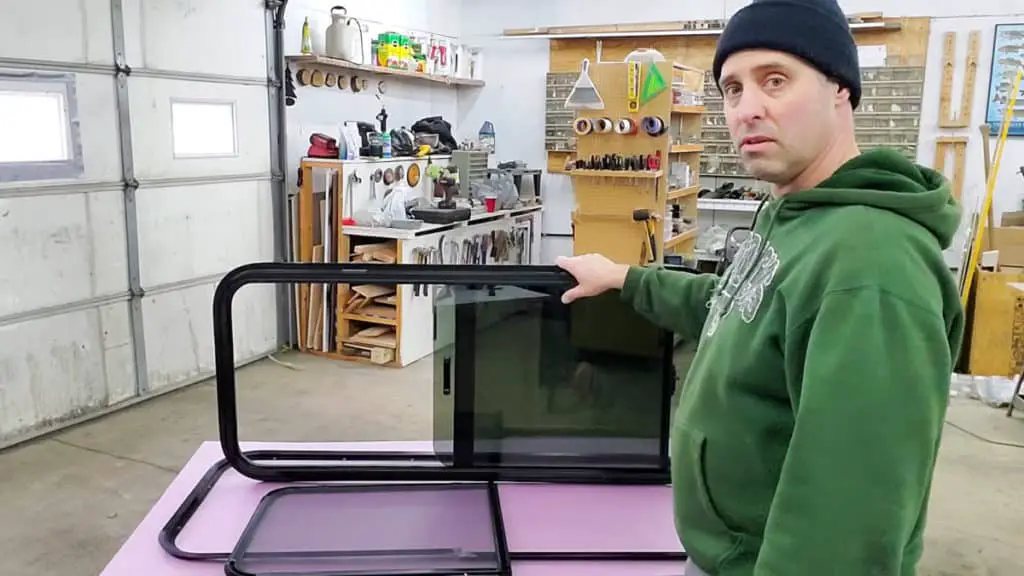
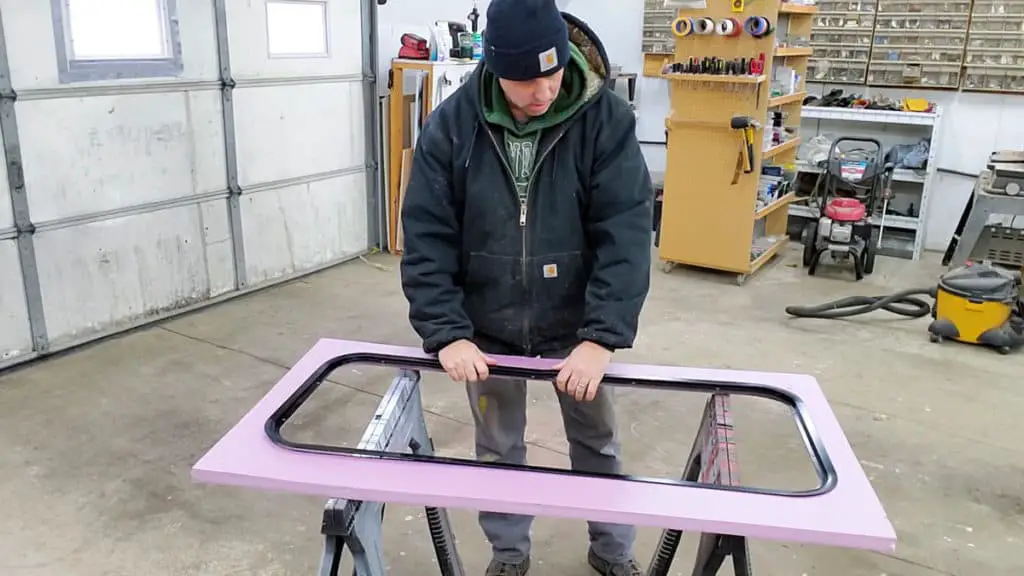
One side of this window slides open and has a screen that easily pops off.
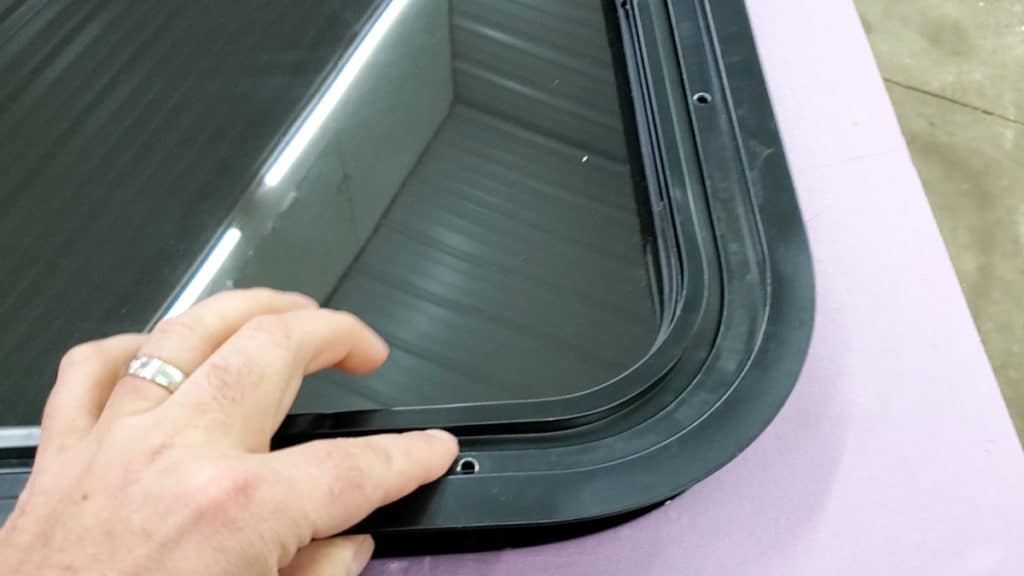
This window has no screw holes on the outside. It is held in place by screwing the trim ring to the inside of the window. This sandwiches the window to the wall by squeezing the wall tightly in between.
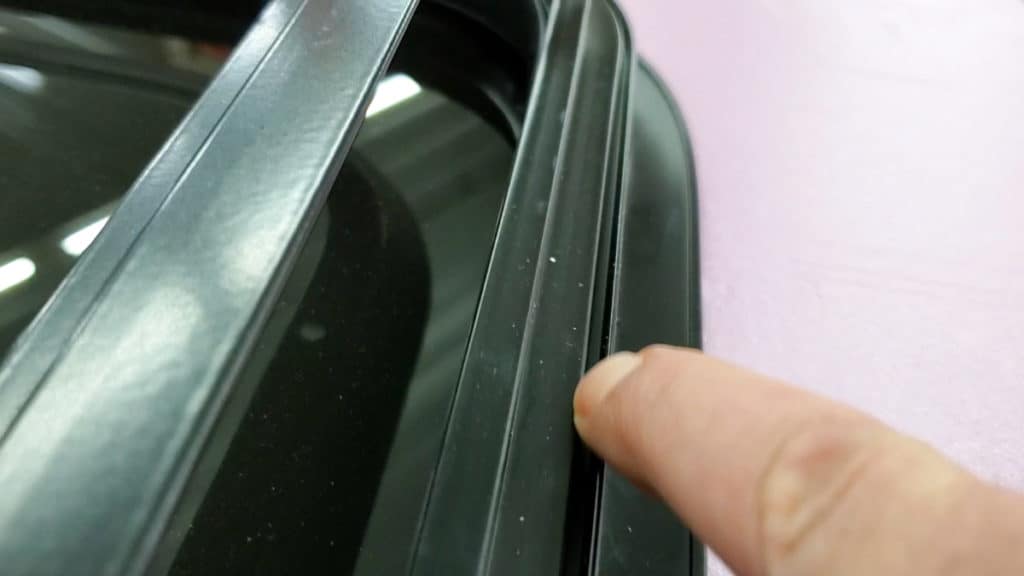
The window came with no instructions, and at first I was confused as to where the screws go. There is a very thin channel around the outer edge of the window. The screws will screw down into this channel. The window doesn’t come with screws, so you will need to find the appropriate size for your application.
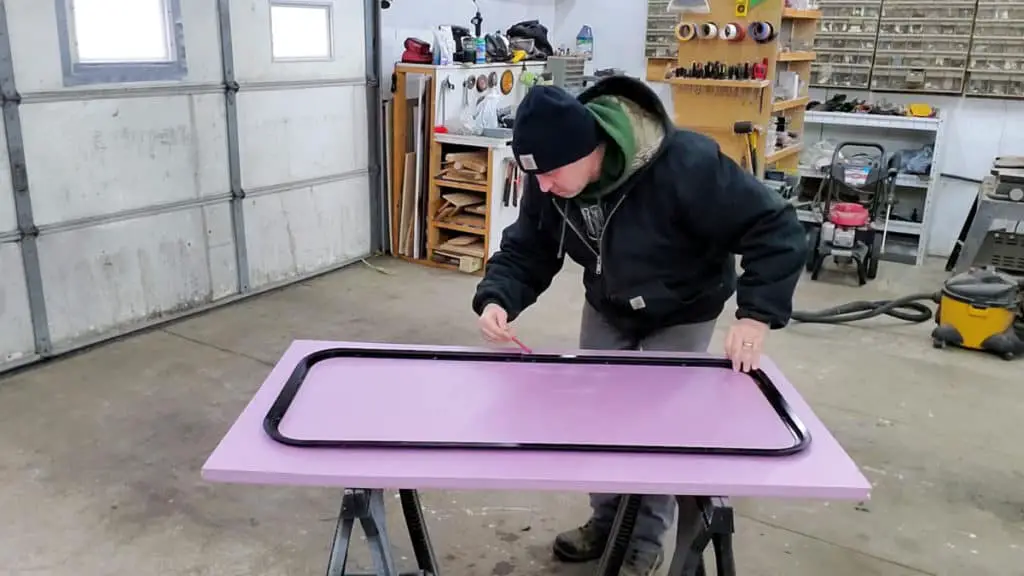
I used the trim ring to cut out a template out of leftover Styrofoam. This way I can make sure the window fits in the opening before cutting the hole in the trailer.
I noticed that the hole the trim ring needs is slightly larger than the hole the window needs. This makes cutting the hole difficult. I ended up with a very slight gap showing on the outside that I had to cover with caulk.

The trailer walls are only and inch and a quarter thick. The window with the trim ring is an inch and three quarters. I had to make a wood frame that went around the window to add thickness. I glued together two pieces of the 1/4 inch plywood, and then cut out the hole just like I did with the Styrofoam.
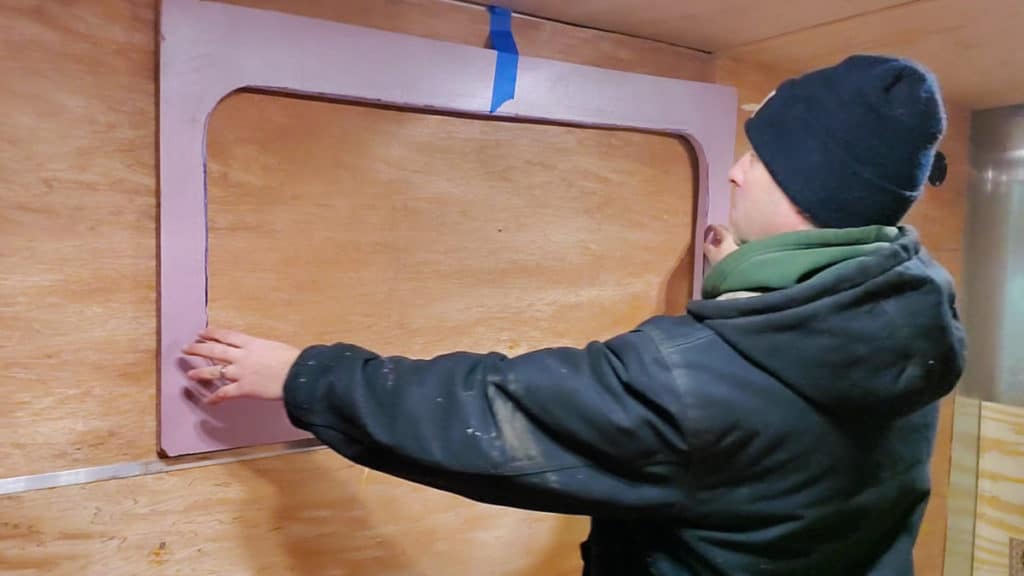
Next I hung theh template on the wall. The window is just wide enough to fit in between the wall studs with the center stud cut out. I used a jig saw and cut from the inside.
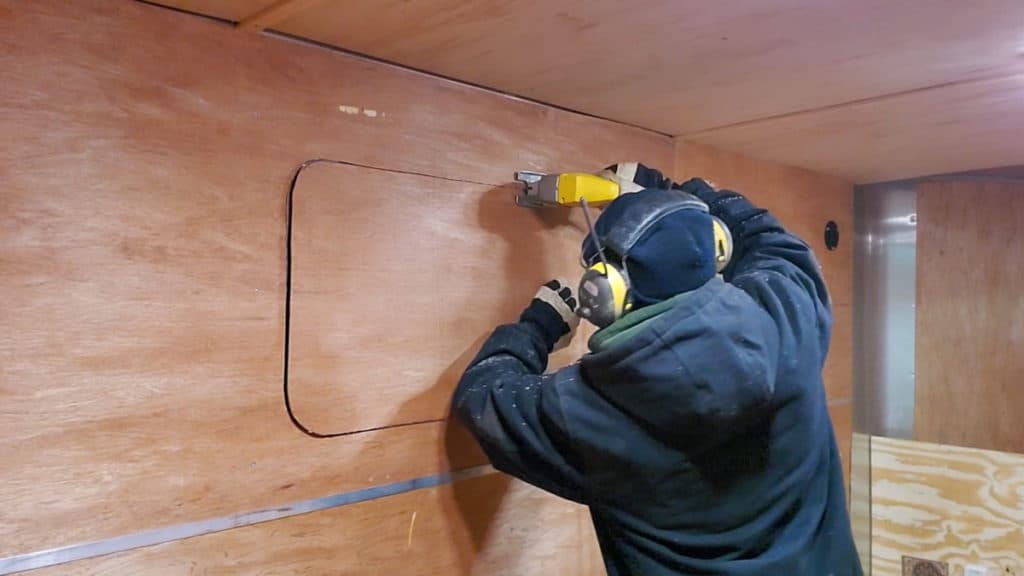
Make sure your blade is long enough to go all the way through the wall.
The jigsaw was not strong enough to cut through the metal frame. I used an angle grinder for that. What I didn’t anticipate was a wire running straight up through the window opening. There was a red side marker light way up in the top back corner of the trailer I didn’t notice. I made a patch to the wire and all was good.

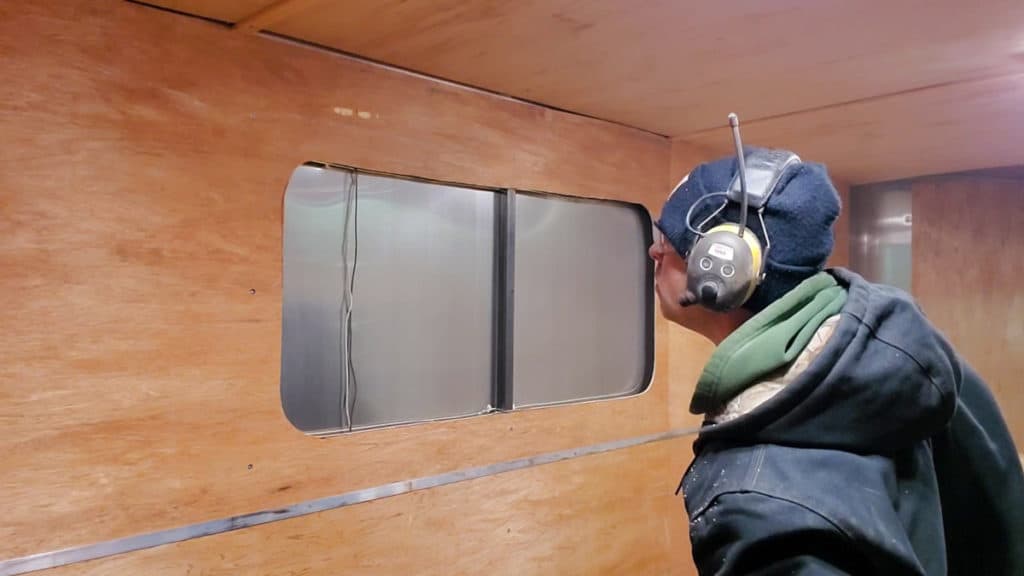
Since the window will squeeze the wall together, I added some rigid Styrofoam the the edge of the opening. This was easy. I just used the template I made earlier. I cut it in half so it would butt up against the metal wall stud in the middle.
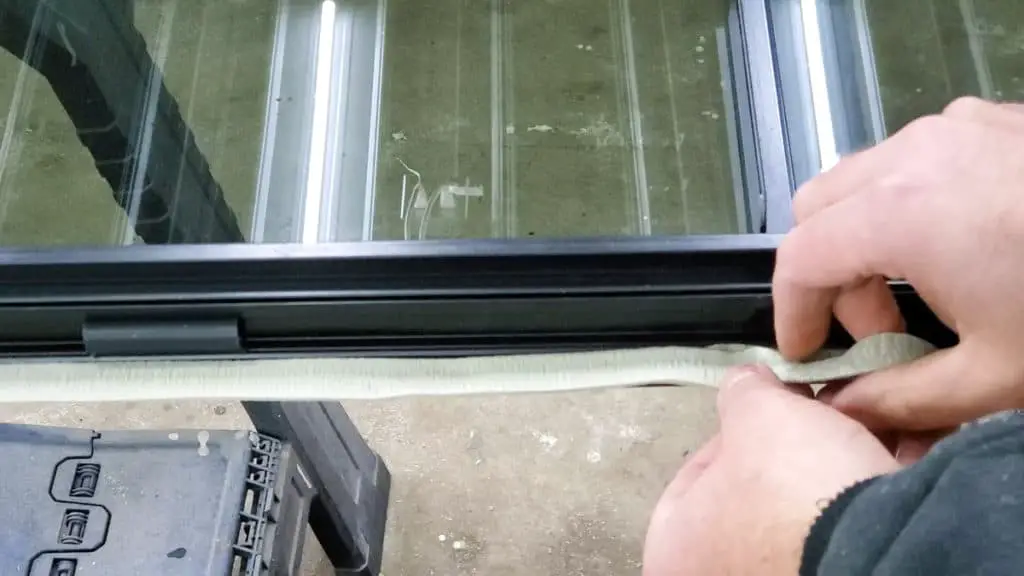
Before putting in the window, I lined the outer flange with butyl tape. This does the same job as caulk, but is less messy. It is often used on campers.
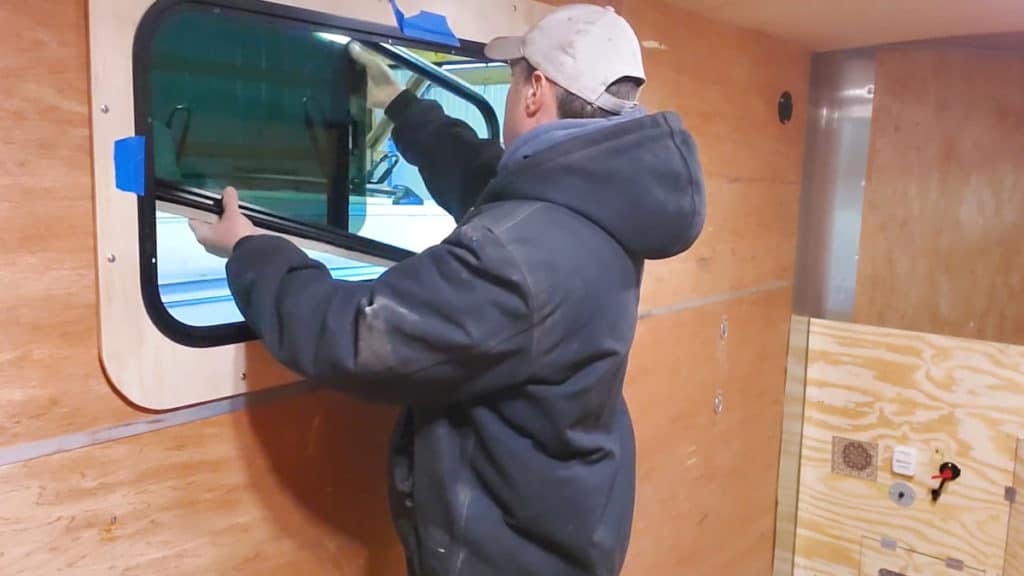
Next I screwed the wood frame I made to the opening, then taped the trim ring in place. This is where it helps to have a second person to help. I had to do it alone, but found it to be doable. I opened the window so I could grab it from the middle and pull it towards me.
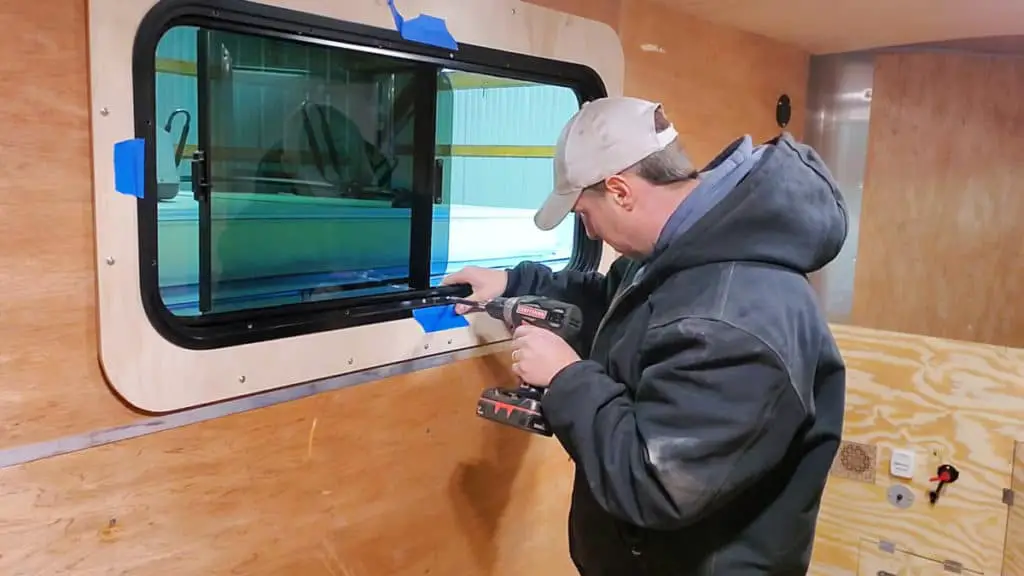
Now all I had to do is get some screws started in the trim ring, and it held tight. Then I went around the ring evenly tightening the window.
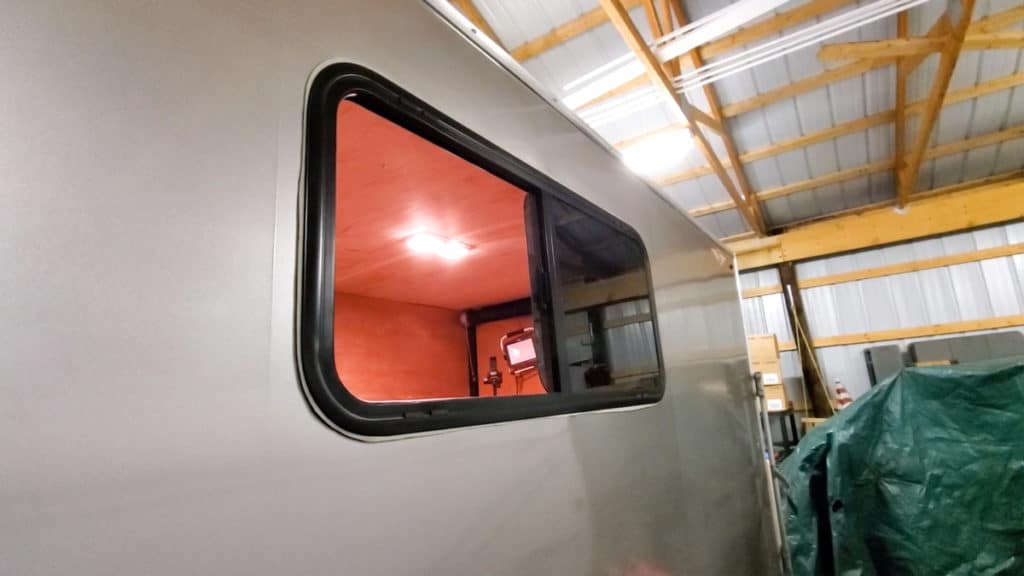
Here is what the window looks like from the outside.
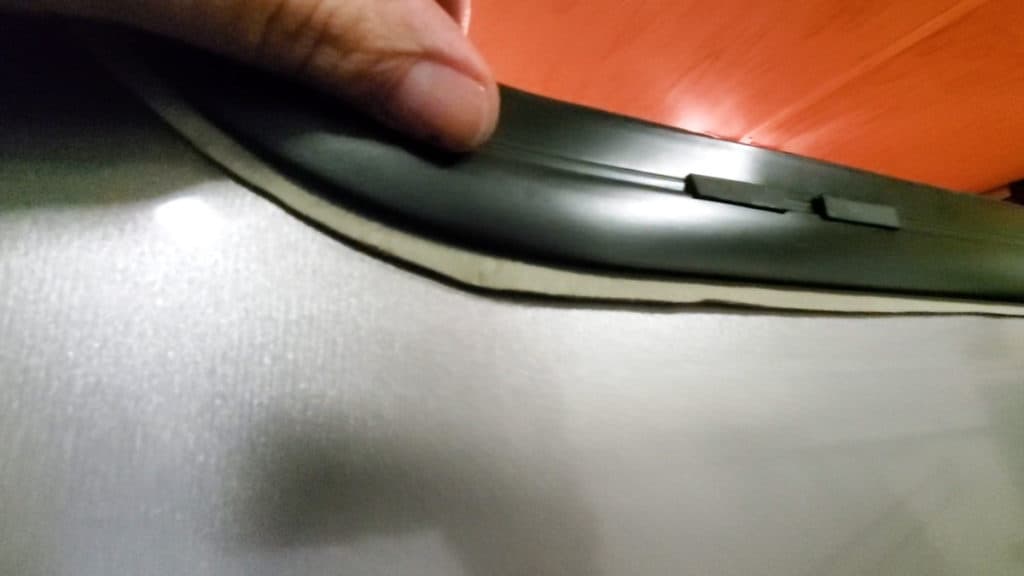
Here you can see the butyl tape squeezed out of the edge. I will come back and trim off that extra tape.
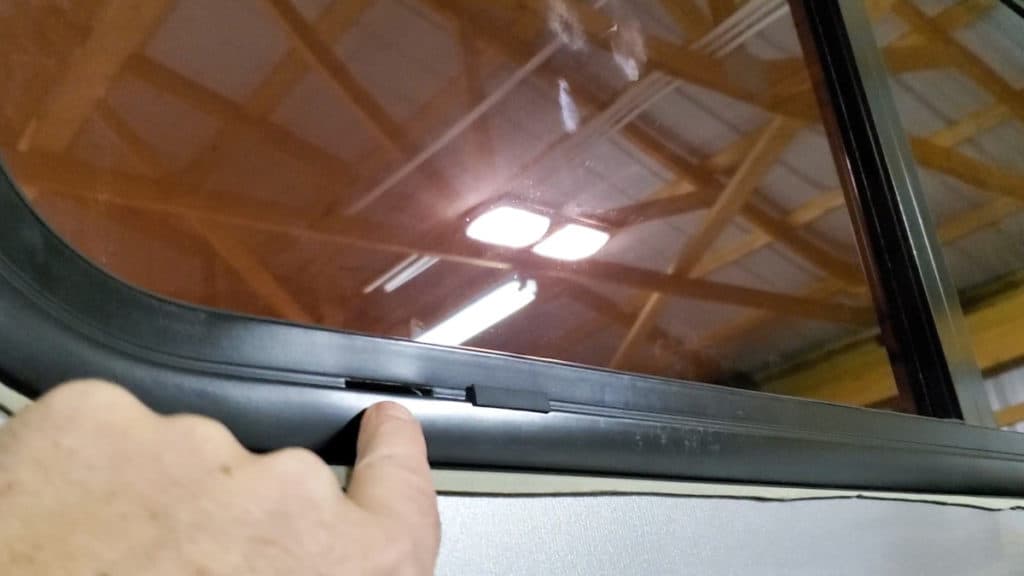
You will notice rubber plugs on the top and bottom of this window. Depending on which way you installed it, you will want to pull out the bottom plug. This will let any trapped water drain out.
Electrical
The electrical in here will be fairly simple. Everything will be run off a 12 volt switch panel.
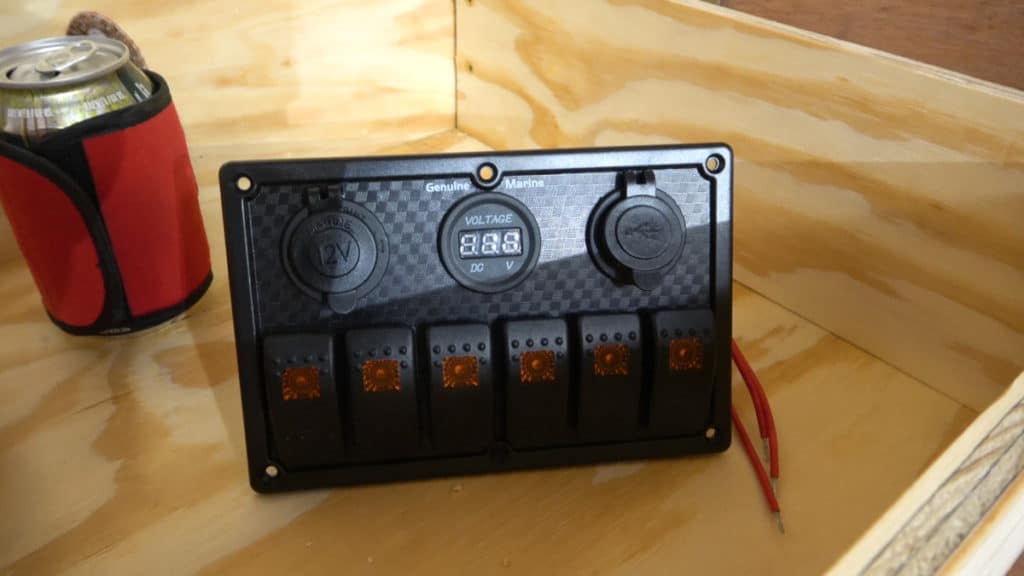
This one has six switches. We will only use four of them, but will have two more for future expansion if needed. What I really like is the built in volt meter in the center of it. It also has a 12 volt plug and a two USB ports.
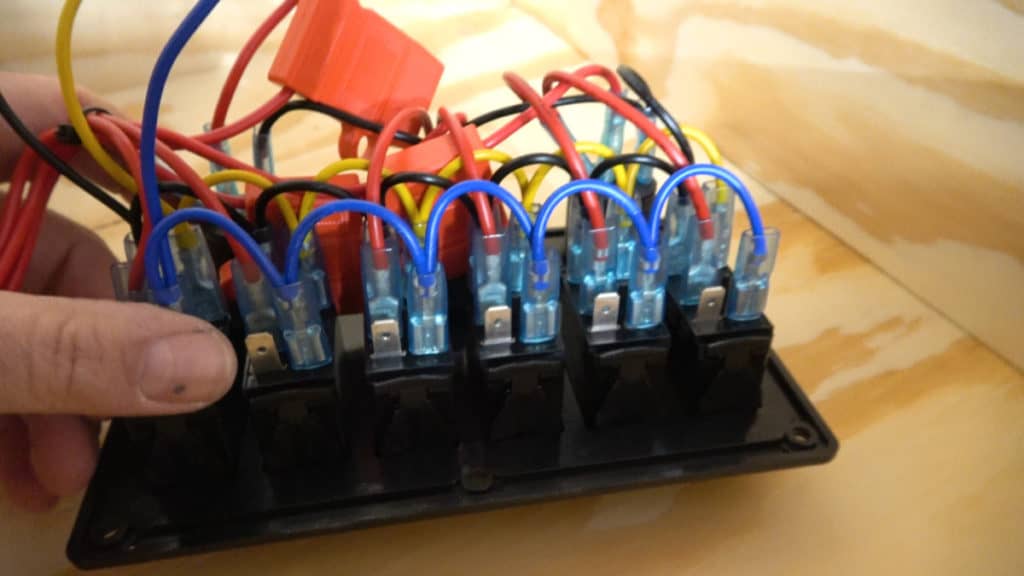
The back of the switch panel looks messy, but its actually quite simple. It contains three in line fuses. Each fuse powers two of the switches. All you need to do is plug the hot lead from your device onto the only open blade left on the switch. Then run your negative to the battery. I used a ground bar to connect all the negatives together.

You can clearly see how it is wired from the diagram above. The three fuses get wired to battery positive. The black goes to negative. That leaves a blue and yellow wire. They hook to the battery also and illuminate the lights on the switch panel.
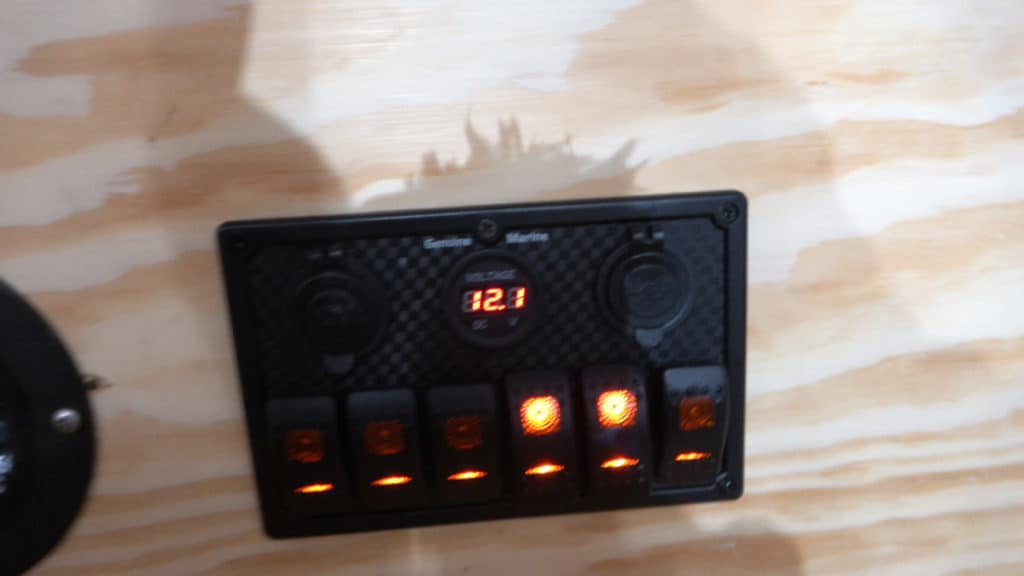
I used the rubber gasket as a template to cut out a square in the plywood and installed the switch panel right above the furnace.
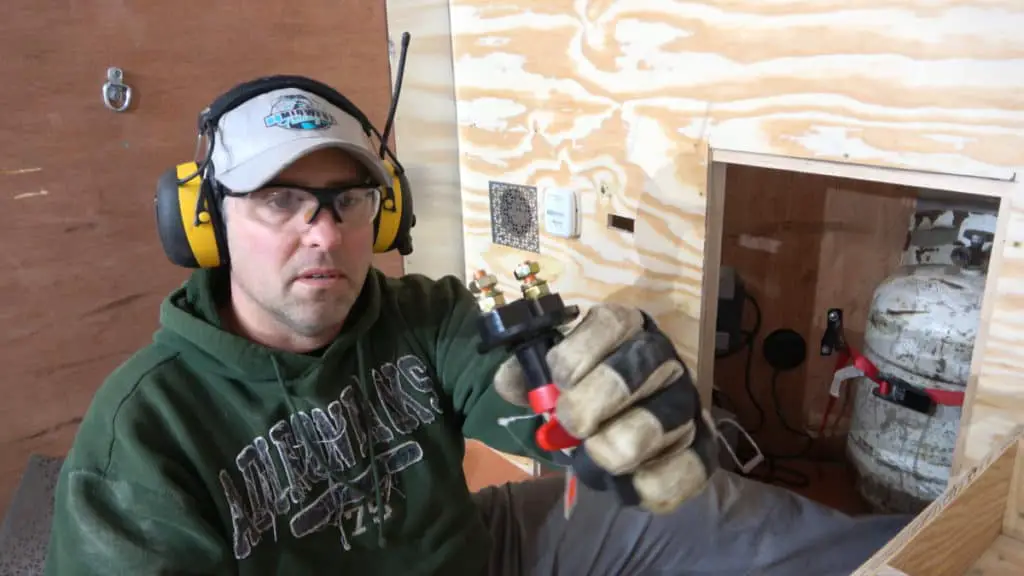
Since the switch panel has lights and a voltmeter that stay on all the time, it will eventually wear down the battery when sitting not in use. To fix this problem, I installed a battery disconnect switch. Just turn the handle and it disconnects the battery from all the electrical, except the charger.
Safety Equipment
We got gas, electricity, and fire all within close proximity to each other. It makes sense to have some safety equipment available. I installed a propane/carbon monoxide detector. This way we can tell if we have a propane leak, or if the furnace is malfunctioning and filling the shack full of toxic fumes.
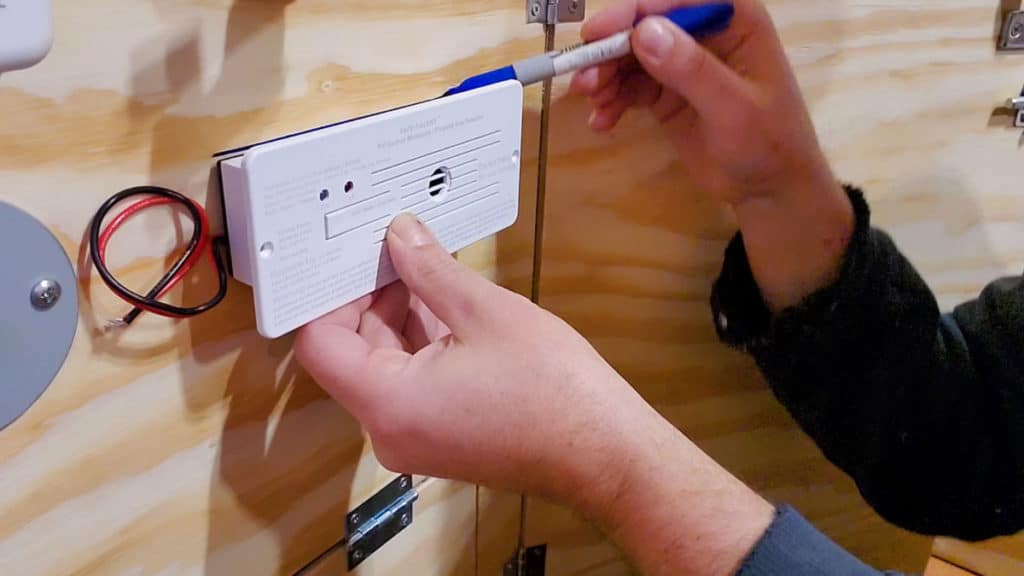
We also installed a fire extinguisher close by. I put the fire extinguisher in after Showing the final photos of the build, so you won’t see it in the pictures. (We realized it was a required item when registering it as an ice shack). The other thing we do for safety is to leave the back door unlatched from the outside. This way, if we need to make a quick escape, we have two exits to leave from.
Finishing Touches
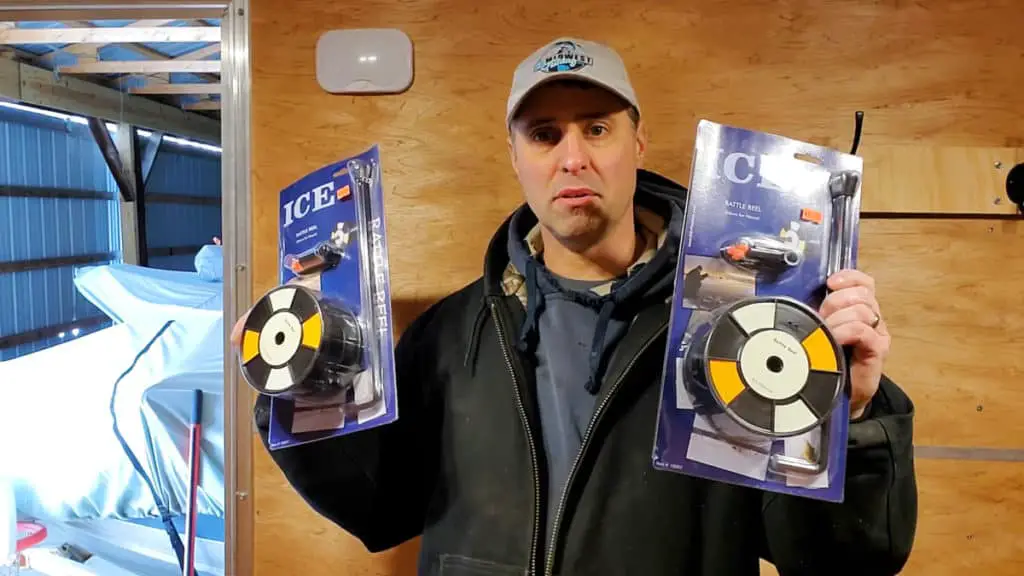
To add some final touches to the house, I installed two rattle reels. These easily attach right to the wall. That way we can have a line out if we sleep in it overnight, or if there is a hole not being used, we can use the rattle reel for an extra line.
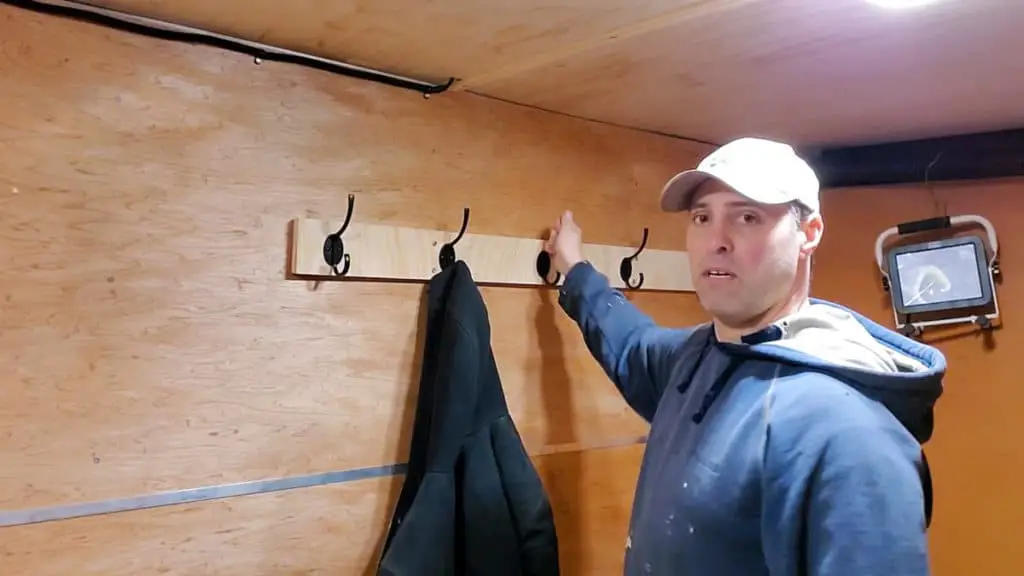
It will be nice and warm in here, so no need to wear a coat. That means we need a place to hang all out gear when not in use. I took five coat hooks and screwed them to a 5 foot board, then secured it with large screws to the metal studs. Its nice and sturdy and will hold lots of weight.
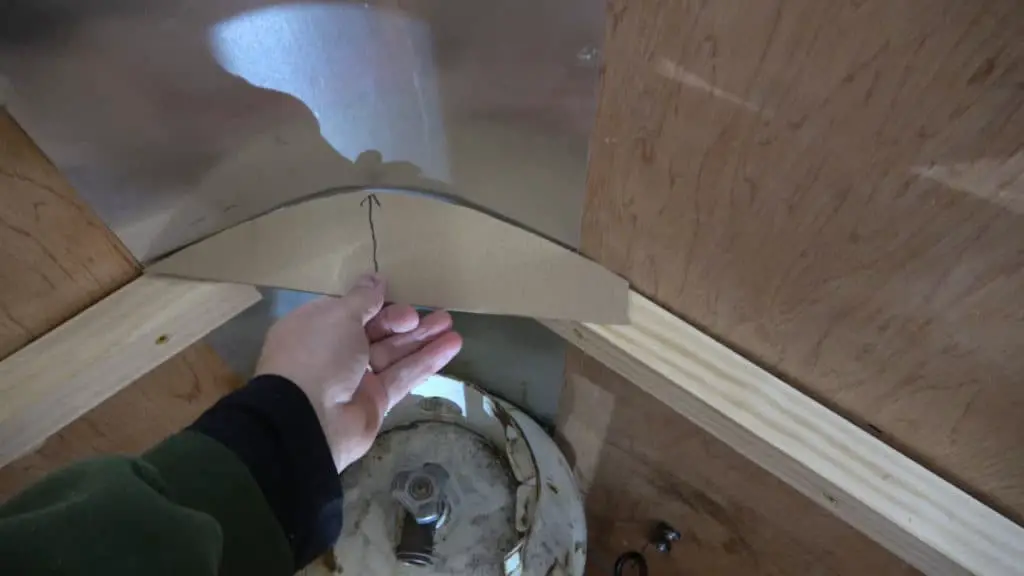
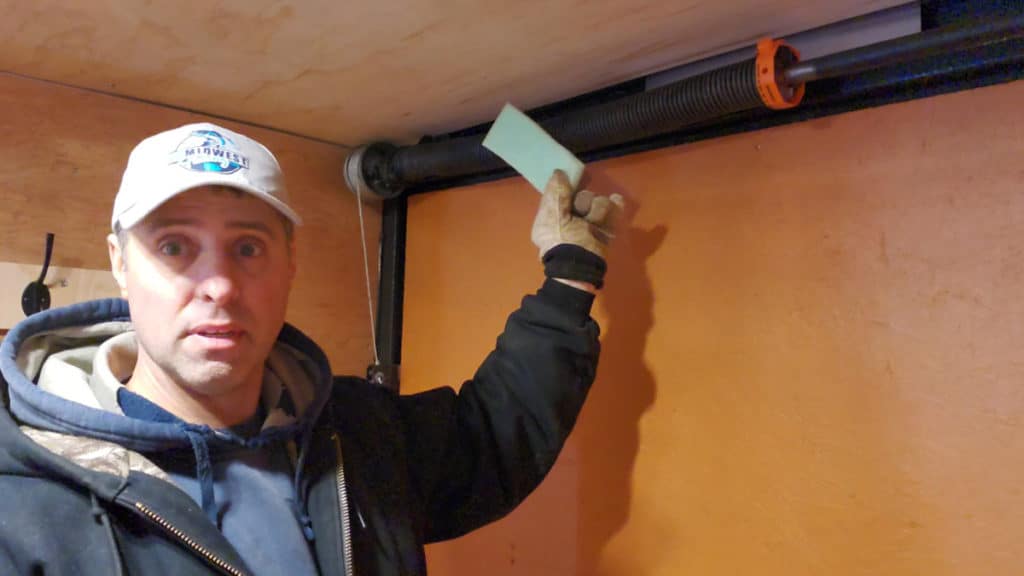
Being a toy hauler, it has a spring to help close the back door. Unfortunately this spring makes a terrible racket anytime you move inside the shack. I found a solution that seems to be working so far. I stuffed a piece of foam inside the spring to cushion it every time it hits the center axle. It doesn’t appear to interfere with the operation of the door either.
Completed Project
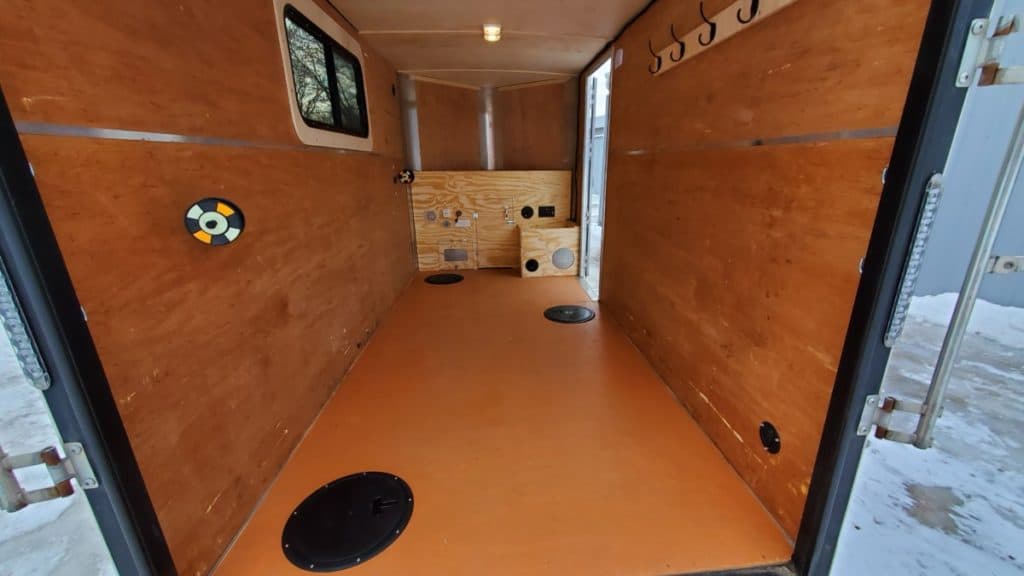
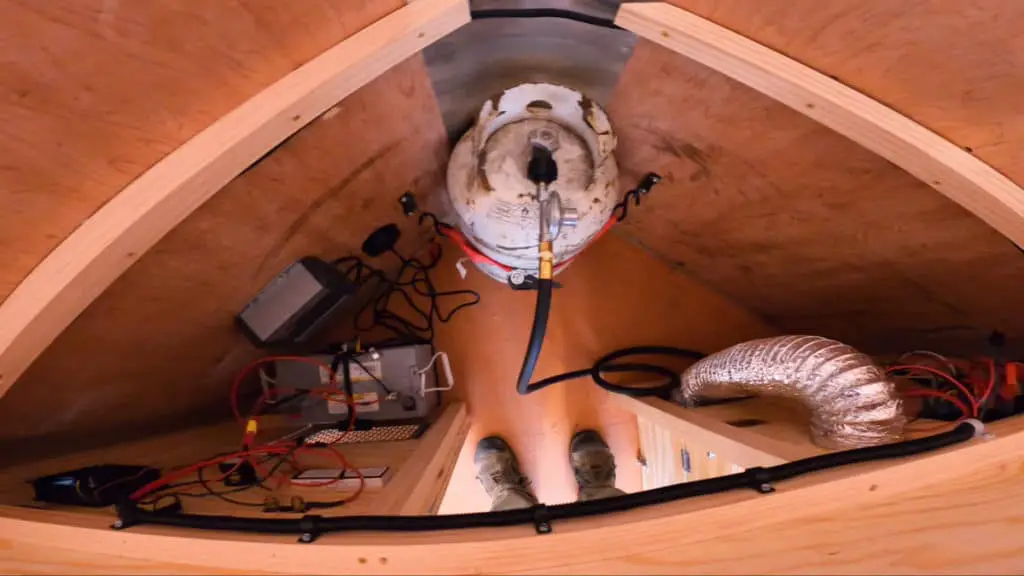
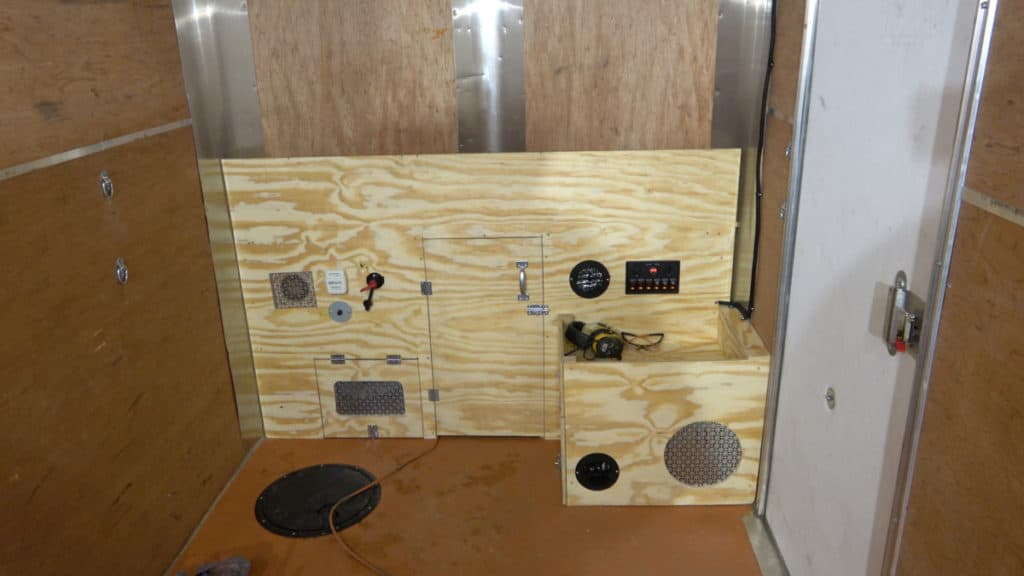
Here is a shot of the completed inside. It is simple, functional, and lightweight.
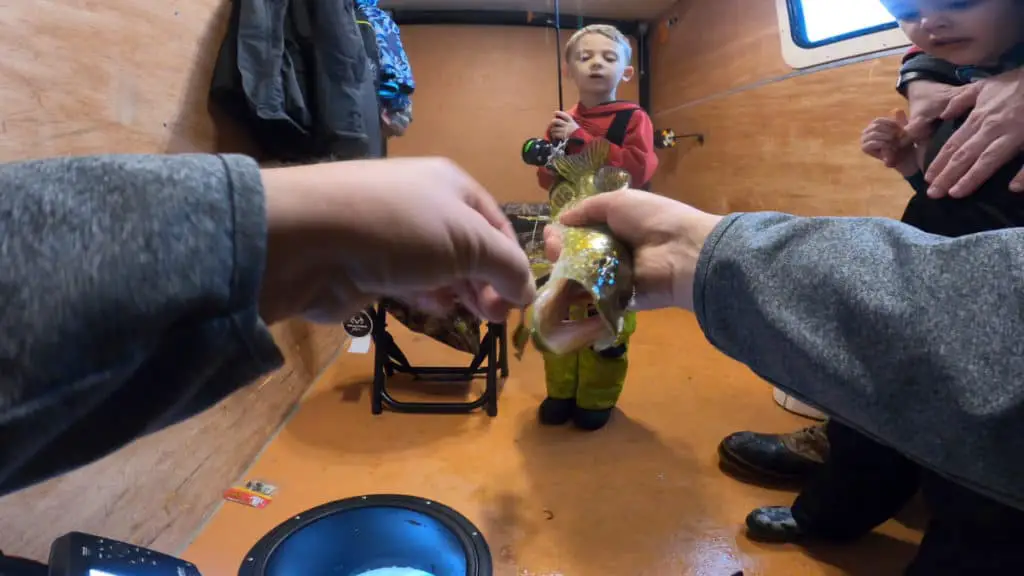
I’ve had the chance to use it a couple times now, and so far I really like it. It is super fast to pick up and change locations. There is plenty of room for three people. I even tried it out with two adults and two kids.
After using it, I found a couple things that I will be adding in the future. It could really use some cup holders by each hole. I will be adding a towel rack below the window to wipe our hands off after catching a fish. I have a fishing pole rack that will attach to the wall or ceiling and is sized for jig poles. I’m thinking of putting in a fourth hole so I can run my fish finder and underwater camera in a separate hole.
This season is almost over, so I will have all these updates done for the beginning of next season.
Cost And Supply List
Now for the part you really want to know. How much does this cost. I will include a parts list below and show what I paid for the parts I used.
- $3,000 – Trailer
- $124 – Wood (plywood, 2×2’s, trim)
- $48 – Insulation
- $412 – Furnace
- $117 – Window and trim kit
- $87 – Holes (covers and sleeves)
- $214 – Electrical
- $100 – Battery charger
- $67 – Carbon monoxide and propane detector
- $69 – Screws and hardware
- $13 – Tire cover
- $26 – Rattle reels
Parts I already had
- $250 – Battery (Cabelas AGM)
- $60 – 30lb Propane tank
- $25 – Thompsons WaterSeal
Total Cost
With everything including the trailer and stuff I already had, the total cost is $4,612.
If you already have a trailer, plan on spending between $1,300 and $1,600 on parts to turn this into a fully functional ice house. Any parts you might already have can reduce the cost of this build. Of course you can customize it any way you like.
With it being a smaller lightweight set up, there really isn’t a whole lot of room to add too many extras inside of it. We bought nice swivel top chairs and two cots in case we ever want to sleep in it. There is enough room to put two cots side by side, with a few inches between them.
Conclusion
If you want to spend the day in comfort while catching fish, this ice house will get the job done. If you can’t afford the fancier Ice castle brand of fish house, this is the next best thing. I really like that it is still usable as a cargo trailer in the off season.
If you are planning on building your own, I hope it helped to watch me build this one.
To see me build this ice house from start to finish, watch the video below